
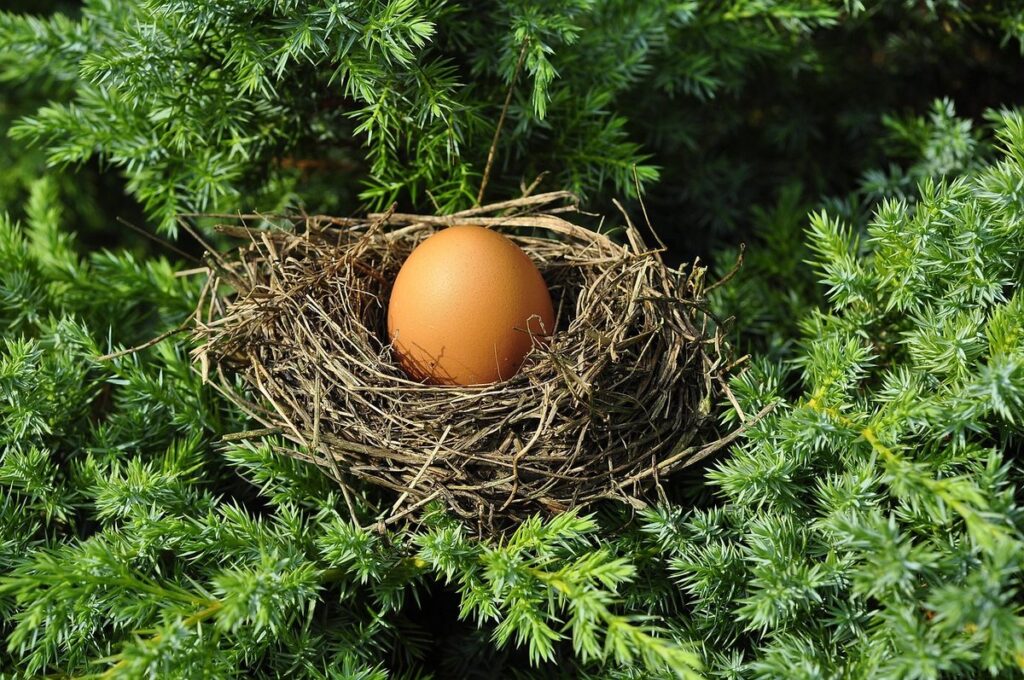
Preserving eggs is an essential skill for anyone who wants to enjoy farm-fresh eggs throughout the year, without worrying about their shelf life. But did you know that there’s a traditional method of preserving eggs using lime? It’s a simple and effective way to extend the shelf life of your eggs, making it perfect for foodies, homesteaders, and outdoor enthusiasts alike. In this article, we’ll guide you through the step-by-step process of preparing and preserving eggs in lime. We’ll cover everything from the preparation of the lime mixture to the preservation process itself, as well as some valuable storage tips to keep your preserved eggs fresh for months to come. By the end of this post, you’ll be confident in your ability to preserve eggs using lime, and enjoy a steady supply of delicious, preserved eggs whenever you need them.
Introduction to Egg Preservation
Egg preservation has been a vital technique for centuries, and we’ll start by walking you through the basics of lime treatment, a simple yet effective method. This section will cover the fundamentals to get you started on your egg preservation journey.
The Importance of Food Preservation
Preserving food is not just a matter of keeping it from spoiling, but also about maintaining its nutritional value and flavor. When done correctly, traditional preservation methods like using lime to preserve eggs can be incredibly effective. In fact, many cultures around the world have been preserving eggs in lime for centuries, relying on this method to keep their eggs fresh throughout the year.
The benefits of using lime to preserve eggs are numerous. Not only does it prevent bacterial growth and spoilage, but it also helps to maintain the egg’s texture and flavor. Additionally, preserving eggs with lime can be a cost-effective way to store large quantities of eggs, making it an attractive option for farmers and backyard chicken enthusiasts alike.
By preserving eggs in lime, you’re not only ensuring that your eggs remain safe to eat, but you’re also locking in their nutritional value. Eggs are already an excellent source of protein, vitamins, and minerals, so preserving them correctly can help maximize the benefits they offer.
Understanding the Process of Limestone Calcification
When you immerse an egg in a lime solution, it triggers a fascinating chemical reaction known as calcification. At its core, limestone (calcium carbonate) reacts with the proteins present on the surface of the egg to create an impermeable barrier that protects the egg from spoilage and decay.
Here’s what happens at a molecular level: when calcium ions from the lime solution come into contact with the eggshell, they start binding with the proteins on its surface. This interaction forms a complex network of crystalline structures that gradually build up around the egg, much like how concrete hardens over time. As this process continues, the calcified layer becomes increasingly dense and impermeable, locking in moisture and preventing bacteria from penetrating the egg.
In practice, this reaction occurs relatively quickly, often within a few days or weeks, depending on factors such as temperature, humidity, and the concentration of lime solution used. With proper technique, you can achieve a stable and long-lasting preservation method that allows your eggs to remain edible for years to come. To maximize the effectiveness of calcification, it’s essential to ensure accurate measurement of the lime solution and maintain consistent conditions during the preservation process.
Preparing Eggs for Lime Preservation
To start the preservation process, you’ll need to carefully prepare your eggs by cleaning and drying them thoroughly before applying the lime solution. This step is crucial for successful preservation.
Gathering Materials and Tools
To begin preserving eggs in lime, you’ll need to gather the necessary materials. This includes clean equipment that’s free from contaminants and residue. A dedicated set of containers for storing and mixing the lime solution is also essential. You’ll want to use containers made from non-reactive materials such as stainless steel or food-grade plastic.
Protective gear is crucial when working with lime, which can be harsh on skin and eyes. Wear gloves and safety goggles to prevent irritation. A face mask may also be necessary depending on the level of exposure. If you’re preserving eggs outdoors, make sure to have a clean workspace that’s protected from debris and contamination.
In addition to these materials, you’ll need a measuring cup or scale for accurately mixing the lime solution. It’s also helpful to have a thermometer handy to ensure the mixture reaches the correct temperature. Make sure all equipment is sanitized before use to prevent spoilage and contamination of the eggs.
Selecting the Right Type of Limestone
When it comes to selecting the right type of limestone for egg preservation, you have several options to choose from. The most common types of limestone are calcite, dolomite, and travertine. Each has its own unique benefits and potential drawbacks.
Calcite limestone is one of the most widely used types of limestone for food preservation due to its high purity and reactivity. It’s relatively inexpensive and easy to find in most hardware stores or online. However, it can be too reactive for some egg types, causing them to become too brittle or discolored.
Dolomite limestone, on the other hand, is less reactive than calcite but still effective at preserving eggs. It’s also less prone to contamination, making it a popular choice among traditional food preservation enthusiasts. However, dolomite can be more expensive and harder to find in some areas.
Travertine limestone is another option that’s gaining popularity due to its unique properties. It has a lower reactivity rate than calcite but still provides excellent preservation results. Additionally, travertine limestone often contains beneficial minerals like magnesium and calcium, which can enhance the nutritional value of preserved eggs.
Ultimately, the choice of limestone type will depend on your personal preferences, budget, and the specific needs of your egg preservation project. Consider factors like reactivity, cost, availability, and mineral content when making your selection.
Cleaning and Preparing Eggs
When preparing eggs for lime preservation, it’s essential to clean and dry them thoroughly. This step helps remove dirt, bacteria, and other contaminants that can interfere with the preservation process.
To start, gently wash each egg under cold running water to remove any visible dirt or debris. Use a soft-bristled brush to scrub away stubborn stains, if necessary. Be careful not to crack the eggs during this process, as even tiny cracks can compromise their integrity.
Once washed, dry the eggs with a clean towel or let them air-dry on a wire rack. Make sure they’re completely dry before moving on to the next step, as excess moisture can affect the lime’s absorption.
You’ll also want to clean and sanitize any equipment you plan to use for handling the eggs during the preservation process. Use hot water and soap to scrub away any residue or bacteria, then rinse thoroughly with cold water.
Taking the time to properly clean and dry your eggs will help ensure a successful lime preservation process.
The Lime Preservation Process
Now that you know how to make your own pickling lime, let’s walk through the step-by-step process of preserving eggs in lime, a crucial part of the process. This section will cover all the necessary steps to get started.
Creating a Lime Solution
Creating an effective lime solution is crucial for preserving eggs in lime. To do this, you’ll need to mix limestone with water in the right ratio. The ideal ratio is 1 part limestone to 4 parts water. This means that if you’re using a cup of limestone, you should use four cups of water.
It’s essential to note that using too much limestone can result in an overly alkaline solution, which can damage your eggs or even cause them to explode due to the buildup of gases. On the other hand, using too little limestone may not provide sufficient preservation.
To ensure you get it right, start by mixing a small batch and testing its pH level with pH paper or a pH meter. The ideal pH range for preserving eggs in lime is between 11 and 12. If your solution falls within this range, proceed with the rest of the preservation process.
Immersing Eggs in the Lime Solution
Carefully submerge each egg into the prepared lime solution, making sure they are fully covered. To avoid damaging the eggs, handle them gently and support their weight with a utensil or spoon if necessary.
The curing process is a crucial step in preserving eggs with lime. It’s essential to ensure that all eggs are submerged evenly, which helps prevent uneven curing and promotes consistency in the preservation process.
Here are some tips for successfully immersing eggs in the lime solution:
* Make sure the eggs are clean and dry before submerging them.
* If you find it difficult to fully submerge an egg, try breaking it into smaller pieces to distribute its weight more evenly.
* Keep the eggs submerged for at least 24 hours to allow the lime solution to penetrate their shells.
* After the initial curing period, you can remove the eggs from the solution and rinse them with water. This step helps to reduce the alkalinity of the lime solution on the egg’s surface.
By following these guidelines, you’ll be able to successfully immerse your eggs in the lime solution, setting the stage for successful preservation.
Monitoring and Turning the Eggs
As you continue with the lime preservation process, it’s crucial to monitor and adjust as needed to ensure optimal results. This is particularly important during the egg-lime mixture incubation period, where temperatures and humidity levels can affect the final quality of preserved eggs.
Regularly check on the mixture by gently stirring or shaking the container every 24-48 hours. This helps prevent lumps from forming and promotes even absorption of lime juice. Monitor the temperature as well – it should remain within a range of 60°F to 70°F (15°C to 21°C) for optimal preservation.
Observe your eggs closely for any signs of spoilage, such as unusual odors or slimy texture. If you notice anything amiss, remove affected eggs immediately and adjust the mixture accordingly. As needed, add more lime juice to maintain the correct acidity level – typically between pH 2.5 and 3.5.
By keeping a close eye on your preservation process and making adjustments when necessary, you’ll be able to produce high-quality preserved eggs that last longer and remain safe for consumption.
Post-Preservation Handling and Storage
Now that you’ve preserved your eggs in lime, it’s essential to handle and store them carefully to maintain their quality and longevity. This section will walk you through safe handling practices.
Removing Eggs from the Lime Solution
When you’re ready to retrieve your preserved eggs from the lime solution, it’s essential to do so carefully and safely. This process can be a bit tricky, but with the right steps, you’ll be able to remove them without causing any damage.
First, make sure the solution has reached the desired pH level, which is usually between 11 and 12. If it hasn’t, wait a few more days for it to stabilize. Once the solution is ready, carefully pour off as much of it as possible from the container into a separate vessel or drain. This will prevent any accidental spills.
Next, use a slotted spoon or skimmer to gently remove the eggs from the remaining solution. Try not to splash or agitate the liquid too much, as this can cause the lime to become airborne and irritate your skin and eyes.
As you lift each egg out of the solution, make sure to inspect it for any signs of spoilage or contamination. If you notice anything unusual, discard the egg immediately.
Once all the eggs are removed from the solution, rinse them gently with clean water to remove any excess lime residue. This will help prevent any further reactions that could affect their quality or safety. Finally, dry your preserved eggs thoroughly before storing them in a cool, dark place.
Drying and Packaging the Eggs
After preserving your eggs in lime, it’s essential to dry and package them properly to maintain quality and extend shelf life. Failing to do so can lead to moisture accumulation, which can cause the eggs to become contaminated and spoiled.
To begin drying, gently remove the preserved eggs from the lime solution and submerge them in a warm water bath for about an hour. This step helps to loosen any excess lime residue on the egg surface. Then, use clean towels or a dry cloth to pat the eggs dry, paying extra attention to any crevices or cracks where moisture might accumulate.
Once the eggs are dry, carefully place them into clean, breathable containers filled with sawdust, wood shavings, or another absorbent material to maintain humidity control. You can also consider using paper bags or cardboard boxes specifically designed for egg storage. Be sure to pack the eggs snugly but not overcrowded, leaving enough space between each egg for air circulation.
By following these steps, you’ll be able to store your preserved eggs safely and effectively for an extended period. Remember to keep the containers away from direct sunlight, moisture, and heat sources to ensure the quality and longevity of your preserved eggs.
Storing Preserved Eggs Safely
When storing preserved eggs, maintaining optimal temperature and humidity levels is crucial to prevent spoilage and ensure their longevity. Ideally, you should store them in a cool, dry place with temperatures between 50°F to 60°F (10°C to 15°C). Avoid storing them near direct sunlight or heat sources like ovens, radiators, or heaters.
To manage humidity, consider using airtight containers or ziplock bags to prevent moisture buildup. You can also add a silica gel packet or uncooked rice to absorb excess moisture and maintain a dry environment. For longer-term storage, you may want to transfer the eggs to a deeper, more stable container filled with sand, sawdust, or packing peanuts.
Remember, preserved eggs should not be frozen or refrigerated as this can cause them to become watery and lose their flavor. Regularly check on your stored eggs for signs of spoilage, such as mold, slime, or an unpleasant odor. By following these storage guidelines, you’ll be able to enjoy your preserved eggs for months to come.
Troubleshooting Common Issues
Sometimes you may encounter problems when preserving eggs in lime, and that’s exactly what we’re going to cover next: common issues and their easy-to-fix solutions. Let’s troubleshoot them together!
Lime Solution pH Levels
Checking and adjusting the pH levels of your lime solution is crucial to ensure optimal preservation of eggs. The ideal pH range for a lime solution is between 8.5 and 9.5, which allows for proper coagulation and penetration of the lime into the egg whites.
To check the pH level of your solution, you can use pH test strips or a digital pH meter. If the reading falls outside the recommended range, it’s time to make some adjustments. To increase the pH, add more calcium hydroxide (slaked lime) in small increments, stirring well after each addition. Conversely, if the pH is too high, dilute the solution with water.
It’s essential to note that even a slight deviation from the optimal pH range can affect the quality and safety of your preserved eggs. For instance, a pH level above 9.5 may cause the lime to break down and release excessive heat, leading to over-coagulation or curdling of the egg whites. By monitoring and adjusting the pH levels regularly, you’ll be able to achieve consistent results and preserve delicious, safe-to-eat eggs.
Handling and Cleaning Challenges
When working with preserved eggs in lime, it’s not uncommon to encounter issues with handling and cleaning. Shell breakage can occur when eggs are removed from the lime bath too quickly or if they’re not properly supported during transfer.
To minimize the risk of shell breakage, handle the eggs gently and carefully, supporting their weight whenever possible. When removing them from the lime bath, use a spoon or tongs to scoop up the eggs, taking care not to touch their fragile shells.
Cleaning preserved eggs can be a challenge due to stains caused by lime residue or other contaminants. To remove these stains, mix 1 part white vinegar with 2 parts water and gently scrub the affected area with a soft-bristled brush. Rinse the egg thoroughly with clean water before drying it with a paper towel. For tougher stains, repeat the process as needed.
Remember to always wash your hands before handling preserved eggs, and make sure to sanitize any utensils or equipment used in the process to prevent contamination and spoilage.
Variations on the Traditional Method
You’re looking for ways to mix up the classic lime preservation method? We’ll explore some creative variations that still yield delicious, long-lasting eggs.
Alternative Preservation Methods
If you’re interested in exploring preservation methods beyond lime, there are several alternatives that use similar principles to help extend the shelf life of your eggs. One such method is using vinegar as a preserving agent. Vinegar works by creating an acidic environment that inhibits bacterial growth, making it difficult for spoilage microorganisms to thrive.
To preserve eggs with vinegar, you can try the following: soak them in a 1-part vinegar to 9-parts water solution for several hours or overnight. Then, rinse and dry the eggs thoroughly before storing them in their usual container. Keep in mind that this method will alter the flavor of your eggs slightly.
Another preservation method worth considering is using salt as a preservative. Salt works by drawing out moisture from the egg, creating an environment that’s inhospitable to bacteria. You can try brining your eggs in a solution of 1 cup of kosher salt per 1 quart of water for several hours or overnight before rinsing and drying them. This method will result in slightly denser eggs, but they’ll remain safe to eat for longer periods.
These alternative methods are worth exploring if you’re interested in preserving eggs without using lime.
Modern Twists on Classic Recipes
Preserving eggs in lime is an ancient technique that’s making a comeback, and for good reason. Not only does it add a unique flavor to dishes, but it also extends the shelf life of eggs. If you’re looking to try something new, here are some modern twists on classic lime-preserved egg recipes.
One creative variation is to add aromatics like garlic or chili peppers to the lime mixture. This not only adds extra flavor but also provides an added layer of preservation. For example, a simple recipe involves mixing minced garlic with lime juice, salt, and water before submerging eggs in the solution.
Another twist is to use different types of citrus fruits, such as lemons or limes combined with other fruits like oranges or grapefruits. This creates a unique flavor profile that’s perfect for adding a burst of citrus to dishes.
Some adventurous cooks are also experimenting with spices and herbs, like cumin, coriander, or cilantro, to give their preserved eggs an international flair. Whatever your taste buds desire, the possibilities are endless when it comes to modern twists on traditional lime-preserved egg recipes.
Frequently Asked Questions
Can I use any type of limestone to preserve eggs?
No, not all types of limestone are suitable for preserving eggs. You’ll need to select a high-calcium limestone with a high pH level (usually above 9) to ensure the preservation process is effective and safe for consumption. Look for limestones specifically labeled as “calcium carbonate” or “high-calcium limestone” to avoid any potential risks.
How often should I turn the eggs during the preservation process?
It’s essential to turn the eggs regularly (about every 2-3 days) to ensure even distribution of the lime solution and prevent any eggs from becoming stuck together. This will help maintain the quality and shelf life of your preserved eggs.
Can I use this method for quail or duck eggs as well?
Yes, you can use this lime preservation method for other types of eggs like quail or duck eggs. However, keep in mind that the size and shape of these eggs may require some adjustments to the lime solution ratio and immersion time. Be sure to research specific guidelines for your chosen egg type before starting the process.
How long will my preserved eggs typically last?
Properly stored preserved eggs can last up to 12 months or more, depending on storage conditions and personal handling practices. Make sure to follow all post-preservation handling and storage instructions provided in this article to maintain their quality and shelf life.
What are some common mistakes to avoid during the preservation process?
Some common mistakes include using low-quality limestone, not preparing the eggs correctly, and failing to monitor and turn the eggs regularly during immersion. Be sure to carefully follow all steps outlined in this article, pay attention to pH levels, and store your preserved eggs safely to achieve optimal results.