
If you’re an avid backyard chicken keeper, chances are you’ve encountered a broody hen at some point. But have you ever wondered how to recognize the signs of broodiness and manage it effectively? Perhaps your goal is to raise a new batch of chicks or increase your flock’s numbers. Either way, managing a broody hen can be a delicate matter. In this article, we’ll walk you through everything you need to know about broody hens, from recognizing the early signs of incubation to caring for newborn chicks. We’ll cover topics such as preparing eggs for incubation, understanding the risks and benefits of letting your hen hatch her own eggs, and providing essential care for both mother and baby. Whether you’re an experienced breeder or just starting out, this comprehensive guide will have you well on your way to successfully raising a broody hen.
Understanding Broodiness
Broody hens can be a mystery, and it’s essential to understand what drives their behavior so you can encourage them to hatch eggs successfully. In this next part, we’ll explore the causes and characteristics of broodiness.
What is Broodiness?
Broodiness is a natural behavior exhibited by some hens where they become obsessed with incubating eggs. It’s as if they’re programmed to be surrogate mothers, and it can manifest in different ways depending on the individual hen and breed. Some hens may simply become quiet and withdrawn, while others may become aggressive or destructive.
There are several causes of broodiness, but its exact triggers are still not fully understood. However, it’s believed that changes in light and temperature, as well as hormonal fluctuations, can contribute to the onset of broodiness. Some breeds, such as Orpingtons, Sussex, and Brahma, are more prone to broodiness due to their genetic makeup.
Hens that are broody often exhibit specific behaviors, including pacing back and forth in front of the nesting box, clucking softly, and even attempting to cover eggs with other materials. If you have a hen that’s showing signs of broodiness, it’s essential to provide her with suitable accommodations, such as a safe and warm space to incubate her eggs. You can also try separating her from the rest of the flock or providing a fake egg to satisfy her maternal instincts.
Recognizing the Signs of Broodiness
As you’ve likely observed, hens can become quite focused on sitting on eggs when they go broody. This behavior is often accompanied by a reduction in egg-laying as the hen dedicates her energy to incubating the eggs. If you’re trying to determine if one of your hens has gone broody, keep an eye out for these physical and behavioral changes.
Firstly, look for the hen to start sitting on the nesting box more frequently, sometimes even going so far as to refuse to leave when encouraged by other birds. She may also grow feathers around her vent area, which helps her to incubate eggs effectively.
Other signs of broodiness can be seen in reduced egg-laying – a broody hen’s focus shifts from producing new eggs to sitting on the ones that are already laid. You might notice fewer eggs appearing in the nesting box over time.
If you suspect your hen has gone broody, gently remove her from the nest and place her in a separate enclosure for a few days. This will give you some indication of whether she’s truly interested in hatching eggs rather than just enjoying a break from laying them.
Encouraging or Discouraging Broodiness
If you’re trying to encourage broodiness in your hens, there are several strategies you can try. One approach is to provide a quiet, dark space for them to nest and lay their eggs. You can create a “hen hut” or brooder using a wooden box or coop with a nesting box inside. This will help stimulate their maternal instincts and encourage them to become more protective of their eggs.
On the other hand, if you’re trying to discourage broodiness in your hens, there are several things you can do. One approach is to provide plenty of exercise and stimulation through foraging, scratching posts, and social interaction with other birds. This will help distract them from nesting instincts and keep them focused on laying eggs rather than sitting on them.
It’s also worth noting that some breeds are naturally more prone to broodiness than others. Research your breed’s specific needs and tendencies when deciding whether or not to encourage or discourage broodiness in your hens.
Preparing for Incubation
To ensure a smooth and healthy incubation process, it’s crucial to carefully prepare your broody hen and her enclosure before she starts hatching eggs on her own. This section outlines key steps to take for a successful hatch.
Creating a Suitable Environment
Creating a suitable environment for broody hens to incubate eggs is crucial for successful hatching. The ideal conditions for incubation are carefully controlled temperatures between 99°F and 100°F (37°C to 38°C) during the first 18 days, gradually decreasing to around 98°F (36.7°C) by day 21. Maintaining precise temperature levels can be achieved using an incubator or broody box specifically designed for this purpose.
Humidity is another vital factor, with optimal levels ranging from 50% to 60%. A hygrometer will help you monitor the humidity levels and make necessary adjustments. To maintain a stable environment, ensure good ventilation by providing adequate airflow in your brooder or incubator. Light control is also essential – total darkness during incubation hours will stimulate the embryos’ growth.
It’s recommended to provide a shallow pan of water for the hen to drink from while keeping her wet but not soaked. A clean and dry broody box or incubator with easy-to-clean surfaces will prevent bacterial infections and maintain a healthy environment for both the hen and eggs.
Choosing Healthy Eggs
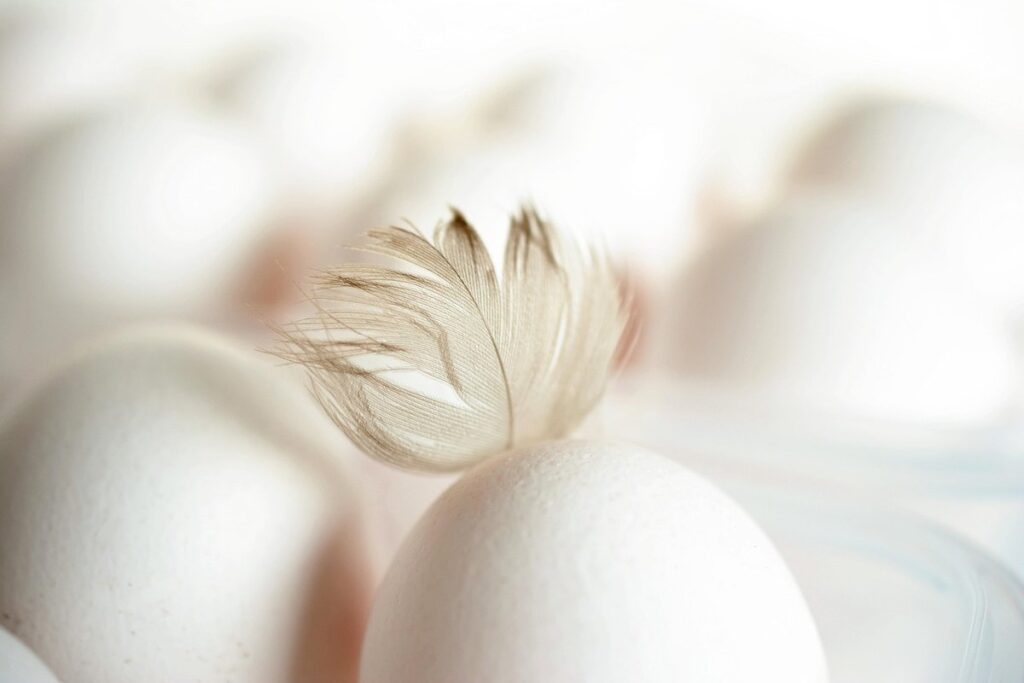
When choosing eggs from healthy hens for incubation, it’s essential to select those that are fresh, clean, and stored properly. Freshness is crucial, as older eggs can have a reduced chance of hatchability. Look for eggs with no cracks or visible damage and check the size, shape, and weight of each one. Eggs should feel heavy for their size due to the large yolk.
When it comes to cleanliness, inspect the eggshell for any visible dirt, stains, or discoloration. A clean shell can indicate a healthy hen that takes care of her eggs. Storage conditions are also vital; eggs should be stored in a cool, dry place away from direct sunlight and drafts. Avoid eggs that have been exposed to extreme temperatures or humidity levels.
Some signs of poor egg quality include an unusual odor, sliminess on the shell, or any visible mold. These eggs can harbor bacteria and fungi, posing health risks to both humans and chickens. When selecting eggs for incubation, look for those laid within a few days of collection and follow proper storage guidelines to ensure optimal hatch rates.
Setting Up the Broody Box or Incubator
When setting up your broody box or incubator, it’s essential to create an environment that mimics the natural conditions of a hen’s nesting site. Start by selecting a quiet and draft-free location for your equipment, away from direct sunlight and pets.
Next, prepare the broody box or incubator itself by adding the following essentials:
* A heat source, such as a heat lamp or ceramic heat emitter, to maintain a consistent temperature between 99°F and 100°F (37°C-38°C) for the first 24 hours
* A thermometer to monitor temperature fluctuations
* A hygrometer to track humidity levels, aiming for 50-60% relative humidity
* Bedding material, such as paper towels or shredded newspaper, to absorb moisture and provide a comfortable surface for your eggs
Once you’ve set up the equipment, carefully place the eggs in the broody box or incubator, making sure they’re not touching each other. A general rule of thumb is to add 1-2 inches (2.5-5 cm) of space between each egg.
The Incubation Process
When it comes time to incubate those precious eggs, you want to make sure everything is just right for a successful hatch. Here’s how to create the perfect environment for your chicks to grow and thrive.
Day 1-7: Fertilization and Initial Development
When a broody hen sets on eggs, the incubation process begins immediately. Within 24 hours of laying, an egg is fertile if it’s collected from a healthy rooster and stored properly to prevent damage. If you’re collecting eggs from your own flock, ensure they’re fresh and free from cracks or other imperfections that could hinder fertilization.
During the first week of incubation, the hen’s body temperature maintains a consistent 99-100°F (37.2-37.8°C), which is essential for initiating fertilization. After about 3-5 days of sitting on eggs, you may notice a slight increase in the hen’s appetite and water intake as she begins to nourish her developing embryos.
The fertilized egg contains two types of cells: the sperm from the rooster and the egg yolk. As development begins, the cells start to divide and multiply rapidly. By day 7, the embryo has formed its basic structures, including the primitive streak (a precursor to the nervous system) and the heart starts beating.
Keep in mind that a hen’s natural instincts will often override incubation temperature fluctuations; however, it’s crucial to maintain a stable environment within the coop or broody box. Provide adequate ventilation, ensure proper air circulation, and maintain humidity levels between 50-60% to support healthy development during this critical first week.
Day 8-14: Organogenesis and Major Organ Formation
At day 8-14 of incubation, something truly amazing is happening inside that developing embryo. This critical period marks the beginning of major organ formation and is a crucial stage in the growth process. The tiny heart starts pumping blood, the lungs begin to expand, and the digestive system starts working. It’s during this time that organs like the kidneys, liver, and pancreas also start taking shape.
As the embryo grows, so do its needs for oxygen, nutrients, and waste removal. The mother hen’s body is carefully regulating these demands, ensuring a stable environment for development to progress smoothly. But, just as in any incubation process, complications can arise during this stage. For instance, if the temperature fluctuations or humidity levels are not optimal, it may cause developmental delays or even failure.
To mitigate potential issues, keep your incubator’s temperature consistent between 99-100°F (37.2-37.8°C) and maintain relative humidity at 50-60%. Monitor the eggs closely for any signs of distress, such as unusual shaking or tilting. If you’re using an automatic egg turner, ensure it’s programmed to rotate the eggs precisely every 6-8 hours to prevent developmental defects.
Day 15-21: Feather Development and Preparation for Hatching
As you approach day 15-21 of incubation, some significant changes are taking place inside the egg. The embryo’s transformation from a fluffy, wingless creature to a fully formed chick is almost complete. During this period, the development of feathers is one of the most notable advancements.
Feather growth accelerates rapidly between days 17 and 18, with the downy layer giving way to a more robust plumage. You’ll notice the embryo’s skin is now covered in soft, fluffy quills that will eventually harden into adult feathers. This process is crucial for insulation and future survival.
In preparation for hatching, the chick’s air sac expands, and its lungs begin to produce surfactant, a substance essential for breathing after emergence. The beak starts to form, and the eyes move towards their final position on either side of the skull. By day 21, the embryo has finished its remarkable transformation, and it’s almost ready to break free from its eggshell.
Keep in mind that some breeds may take longer than others to reach this stage. Always monitor your eggs closely, ensuring they’re turning regularly and maintaining a consistent temperature. This will give the developing chick the best chance at successful hatching.
Troubleshooting Common Issues
As you navigate the process of hatching eggs under a broody hen, issues may arise – don’t worry, we’ve got some solutions to common problems right here. Let’s tackle them together.
Infertile or Non-Viable Eggs
When it comes to broody hens and their ability to hatch eggs, one of the most frustrating issues is encountering infertile or non-viable eggs. These eggs may appear perfectly normal on the surface but unfortunately, they won’t contain a developing chick.
Identifying infertile eggs can be challenging, especially for new backyard chicken keepers. However, it’s essential to spot them early on to avoid wasting your time and energy. Look for signs such as cracked or rough shells, uneven egg shapes, or an unusual color. These visual cues might indicate that the egg hasn’t been fertilized.
If you’re experiencing a high rate of infertile eggs, consider factors like the rooster’s age, health, and quality. A younger or unhealthy rooster may not be able to effectively fertilize eggs. You can also try introducing more males into your flock or using artificial insemination for better results.
Keep in mind that even with optimal conditions, a small percentage of eggs will remain infertile. To minimize this issue, ensure the hen’s temperature is within the ideal range (around 99-100°F) and provide her with plenty of calcium-rich foods to support eggshell development.
Abnormal Incubation Conditions
When it comes to hatching eggs under a broody hen, even slight deviations from ideal incubation conditions can have significant consequences. One of the most common issues arises when temperatures fluctuate beyond the acceptable range. For example, if the ambient temperature is consistently 10°F (5°C) higher or lower than the recommended 99-101°F (37-38°C), it can lead to developmental problems in the embryos.
Similarly, humidity fluctuations can also impact incubation success. If the hen’s coop is too humid, condensation may form on the eggs, while extremely dry conditions can cause the eggs to lose moisture rapidly. Aim for a relative humidity of 50-60% to maintain optimal egg moisture.
To address these issues, ensure your broody hen has access to adequate ventilation and shade. Regularly check temperature and humidity levels using a thermometer and hygrometer, making adjustments as necessary. For instance, you can place a fan near the coop or use a humidifier to regulate conditions. By monitoring and correcting suboptimal incubation conditions, you’ll increase your chances of successful hatching under the care of your broody hen.
Health Issues with Chicks After Hatching
As your broody hen’s chicks begin to hatch, it’s essential to be aware of potential health complications that may arise. One common issue is respiratory problems, caused by the chicks’ underdeveloped lungs and fragile respiratory system. This can lead to distress, lethargy, and even death.
Another concern is wet hatching or damp brooder conditions, which can foster bacterial growth, such as E. coli and Pasteurella. Regular cleaning of the brooder, changing bedding daily, and ensuring adequate ventilation are crucial preventative measures.
Proper chick nutrition is also vital in the first few days post-hatch. A high-quality starter feed with the right balance of proteins, vitamins, and minerals will support healthy growth and development.
Monitor your chicks’ behavior closely for signs of illness, such as labored breathing, coughing, or loss of appetite. Keep an eye out for any wetness around their vents or eyes, as this can be a sign of infection. Consult with a veterinarian if you suspect any health issues, and take immediate action to prevent the spread of disease.
Maintaining a clean, well-ventilated environment, providing proper nutrition, and monitoring your chicks’ behavior will help minimize the risk of these complications arising in the first place.
After the Hatch: Caring for Newborn Chicks
Once your chicks have hatched, it’s essential to focus on their care and well-being as they adapt to life outside the egg. Here are some tips for keeping them happy and healthy.
Initial Care and Nutrition
When those precious newborn chicks finally pip their way out of their shells and start taking their first wobbly steps into the world, it’s essential to provide them with top-notch care and nutrition. Proper feeding, hydration, and shelter are crucial for their survival and growth.
Start by placing the chick under a brooder or a heat source, such as a heat lamp or a heat mat, to maintain a temperature of around 90-95°F (32-35°C). This will help regulate their body temperature and keep them warm. Make sure they have access to clean, fresh water at all times – chicks can easily become dehydrated, especially during the first few days.
For nutrition, you’ll need to provide a high-quality starter feed or chick crumbles specifically formulated for young birds. Place the feed in a dish that’s easy for them to access, and consider offering a shallow dish of grit to help with digestion.
Keep an eye on your chicks’ progress, and make sure they’re getting enough food and water by checking their droppings – if they’re well-formed and not too runny or hard, it’s a good sign!
Socialization and Brooder Management
When introducing new chicks to your flock, it’s essential to consider their socialization and brooder management to ensure a smooth transition. Newborn chicks are highly sensitive to stress and should be kept away from adult birds until they’re at least 4-6 weeks old.
To create a healthy environment for your chicks, provide adequate lighting. A temperature range of 90-100°F (32-38°C) is ideal during the first week, with a gradual decrease in temperature by 5°F (3°C) each week thereafter. Make sure to use a brooder lamp or heat source specifically designed for poultry.
Ventilation is also crucial to prevent ammonia buildup and maintain air quality. A good rule of thumb is to provide at least 1 square foot (0.1 square meters) of ventilation per chick. Avoid overcrowding, as this can lead to stress, disease, and mortality.
Monitor your chicks closely during the first few weeks, providing them with a balanced diet and plenty of fresh water. Ensure the brooder is clean and well-maintained to prevent the spread of disease. By following these guidelines, you’ll be well on your way to raising healthy, robust chicks that will thrive in their new environment.
Monitoring Health and Preventative Measures
Regular health checks are crucial for monitoring the well-being of newborn chicks. Observe them daily, checking for signs of illness, injury, or stress. Keep an eye out for labored breathing, ruffled feathers, and changes in appetite or droppings. If you notice any unusual behavior or symptoms, consult a veterinarian experienced in poultry care.
To maintain a strong immune system, ensure proper ventilation and temperature control in the brooder. Provide a balanced diet rich in essential nutrients, and offer fresh water at all times. A clean living environment is also vital – disinfect the brooder regularly, and remove any soiled bedding or debris.
Proactive measures can help prevent diseases like coccidiosis, which often affects young chickens. Introduce probiotics to their feed or water to promote gut health and boost immunity. Consider using a medicated starter feed specifically designed for young chicks to combat common issues like brooder pneumonia. By taking these steps, you’ll be well on your way to raising healthy, robust chicks that will thrive under your care.
Frequently Asked Questions
How Long Does a Broody Hen Typically Incubate Eggs?
A broody hen’s incubation period can vary from 21 to 24 days, depending on the breed and individual characteristics. It’s essential to understand that some hens may take longer or shorter periods than others. If you’re new to managing broody hens, it’s crucial to monitor their behavior closely and be prepared for any unexpected outcomes.
What if My Broody Hen Stops Incubating Eggs Mid-Cycle?
Yes, it’s not uncommon for a broody hen to abandon incubation midway through the cycle due to various reasons such as stress, lack of food or water, or an underlying health issue. In this scenario, carefully remove her from the nesting box and provide fresh eggs if you want her to continue incubating. However, if she shows no interest in resuming, it may be best to discourage broodiness.
How Do I Prevent My Broody Hen from Overheating?
A broody hen’s health can suffer significantly if they become overheated while incubating. Ensure that the brooder or nesting box is well-ventilated and has adequate air circulation. You can also monitor temperature levels closely, aiming for a range of 99°F to 100°F (37°C to 38°C). If temperatures exceed this range, consider using fans or reducing the number of hens in the area.
What Are Some Common Health Issues with Chicks After Hatching?
Newly hatched chicks can be susceptible to various health issues, including respiratory problems and pasty butt syndrome. Monitor their condition closely during the first few days after hatching, and ensure they have access to a clean brooder with adequate ventilation. A balanced diet, proper hydration, and regular check-ups will also help prevent common health issues.
Can I Breed Chicks from Different Parent Stock?
Yes, you can breed chicks from different parent stock by introducing new breeds to your flock or using artificial insemination. However, this may increase the complexity of managing broodiness due to genetic diversity. It’s crucial to research compatibility and understand any potential breeding-related challenges before making changes to your flock.