
Are you ready to take your backyard poultry adventures to the next level? Hatching quail eggs can be a thrilling experience, but it requires careful planning and attention to detail. Choosing the right breed is just the beginning – with over 100 varieties of quails to choose from, selecting one that suits your needs is crucial for success. But don’t worry, we’ve got you covered! In this article, we’ll guide you through the process of hatching quail eggs using both artificial and natural incubation methods. From preparing your eggs for incubation to post-hatch care, we’ll share expert tips and tricks to help you achieve a high hatch rate. Whether you’re a seasoned farmer or a beginner looking to start small, our comprehensive guide will equip you with the knowledge needed to successfully hatch quail eggs at home.
Choosing the Right Quail Breed
When hatching quail eggs, it’s crucial to choose a breed that suits your needs and lifestyle, as different breeds have unique characteristics and requirements. This section will help you navigate the options.
Factors to Consider When Selecting a Breed
When selecting a quail breed for hatching eggs, there are several key factors to consider. First and foremost, think about egg production. Some breeds are prolific layers, producing up to 300 eggs per year, while others may lay fewer than 100. If you’re looking to use your quails as a source of fresh eggs, you’ll want to choose a breed that meets or exceeds this expectation.
Temperament is another crucial consideration. Quail can be quite skittish and territorial, so it’s essential to select a breed that is docile and easy-going. Some popular breeds for backyard keepers include the Japanese Coturnix, which are known for their calm nature, and the Button Quail, which are friendly and social.
Hardiness is also an important factor to consider. Quail can be susceptible to disease and parasites, so you’ll want to choose a breed that is resistant to these issues. Research breeds that have been developed specifically for their hardiness, such as the Swedish Bantam, which is known for its robust health.
Ultimately, the right quail breed for hatching eggs will depend on your specific needs and preferences. Consider what you’re looking for in a breed – do you want high egg production, a calm temperament, or hardiness? Research different breeds and choose one that meets your criteria.
Popular Breeds for Egg Hatching
When it comes to hatching quail eggs, choosing the right breed is crucial for successful incubation and raising healthy chicks. Among the numerous quail breeds available, some are more popular than others for egg hatching due to their excellent reproductive traits.
Japanese Quails, also known as Coturnix Quails, are one of the most sought-after breeds for egg hatching. They are prolific layers, producing up to 300 eggs per year and incubating within 16-17 days. Their small size and gentle nature make them an ideal choice for backyard farmers.
Chinese Quails are another popular breed, laying around 200-250 eggs annually. They have a slightly longer incubation period of 18-19 days but are known for their hardiness and robustness.
Bobwhite Quails are also gaining popularity among quail enthusiasts due to their impressive egg-laying capacity, producing up to 300 eggs per year. With an incubation period of 16-17 days, they offer a great balance between reproductive traits and manageable care requirements.
These breeds are excellent choices for backyard farmers looking to start or expand their quail hatching operations.
Preparation for Hatching Eggs
Before you start incubating those precious quail eggs, make sure you’re prepared with the right equipment and environment to ensure a successful hatch. Let’s get started on the essential preparation steps.
Setting Up the Breeding Area
When setting up a breeding area for hatching quail eggs, it’s essential to consider both equipment and space requirements. Quails are social birds that thrive in small groups, so you’ll need to provide enough space for them to move around comfortably.
A good rule of thumb is to allocate at least 2-3 square feet of floor space per quail, with adequate ventilation and lighting. You can use a breeding box or a large cage specifically designed for quails, but ensure it’s escape-proof and has easy access for cleaning and egg collection.
In terms of equipment, you’ll need a nesting box where the females can lay their eggs safely. A good nesting box should be at least 6 inches wide, 12 inches long, and 12 inches tall. You may also want to consider adding some perches, food dishes, and water containers to create a comfortable environment for your quails.
Make sure the breeding area is clean and free from drafts, as quails are sensitive to cold temperatures and strong air currents. With proper setup and maintenance, you’ll be well on your way to successfully hatching quail eggs.
Hygiene and Sanitation in the Breeding Area
Maintaining good hygiene and sanitation practices in the breeding area is crucial to prevent disease in quails. When you’re about to hatch eggs, it’s essential to create a clean environment that minimizes the risk of contamination. Start by ensuring the breeding area is well-ventilated, as poor air circulation can lead to ammonia buildup from droppings, which can be toxic to quails.
Clean and disinfect all surfaces with a solution of 1 part white vinegar to 9 parts water every week. This will help eliminate bacteria, fungi, and viruses that could harm your quails. Make sure to remove any uneaten food and debris regularly, and replace it with fresh hay or bedding material. Regularly wash your hands before handling eggs or quails to prevent transferring bacteria.
Keep the breeding area free from pests like mites, lice, and fleas by using diatomaceous earth or insecticidal soap. Also, maintain a consistent temperature between 65-75°F (18-24°C) in the breeding area to prevent stress on your quails. By following these simple steps, you’ll create an environment that promotes healthy growth and development of your quail chicks.
Hatching Quail Eggs: Methods and Techniques
Whether you’re a seasoned quail breeder or just starting out, this section will walk you through the various methods and techniques for hatching quail eggs successfully. From incubation to candle checking, we’ve got you covered!
Artificial Incubation
Artificial incubation is a reliable method for hatching quail eggs when natural breeding isn’t an option. To get started, you’ll need to set up an incubator that can maintain precise temperature and humidity levels. Choose an incubator designed specifically for birds, as reptile or mammal incubators won’t provide the right conditions.
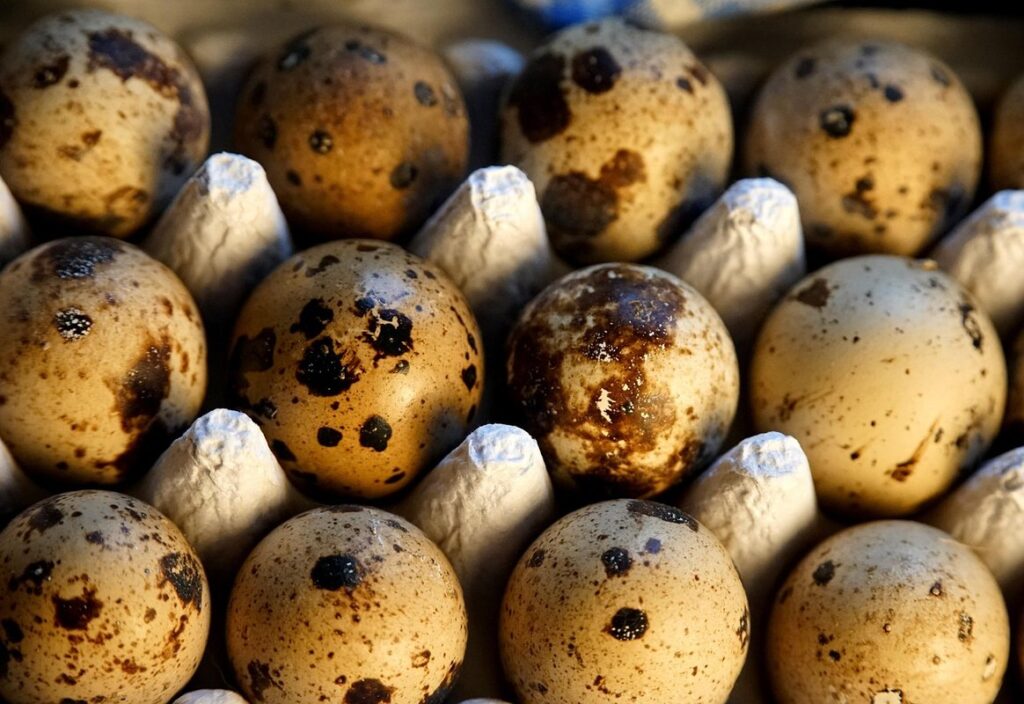
Before adding your quail eggs to the incubator, prepare them by gently washing with soap and water, then letting them air dry completely. This helps prevent bacterial contamination during the hatching process. Next, place 1-2 dozen eggs in a carton, with the pointed end facing upwards. You’ll also need to set the temperature between 99°F (37°C) and 100°F (38°C), with a slight increase in temperature over the next few days.
Monitoring temperature and humidity levels is crucial during artificial incubation. A temperature range of 99-100°F, with 50-60% relative humidity, will promote healthy hatching. Use an hygrometer to track changes in the environment, adjusting the incubator settings as necessary to ensure optimal conditions for your quail eggs.
Natural Incubation
One of the most fascinating and natural ways to hatch quail eggs is through a process called broodiness. A broody hen will take care of your quail eggs as if they were her own, keeping them warm, safe, and nurtured until they hatch. This method can be an excellent way to hibernate your quail eggs without the need for expensive incubators or heat sources.
To encourage a hen to go broody, you’ll want to provide her with a suitable nesting box and some of her favorite treats. Once she starts sitting on the eggs, make sure to give her plenty of space and minimize disruptions. The ideal temperature for hatching quail eggs is around 99-100°F (37-38°C), which a broody hen can maintain naturally.
Some tips to keep in mind when using a broody hen for incubation include: separating your broody hen from the rest of the flock, providing her with fresh water and food, and gently coaxing her off the eggs if she’s not producing well. With a little patience and care, you’ll be rewarded with healthy, happy quail chicks.
Monitoring and Maintaining Optimal Conditions
Now that you’ve successfully hatched your quail eggs, it’s essential to maintain a stable environment for healthy growth. We’ll walk you through monitoring temperature, humidity, and other crucial factors.
Temperature and Humidity Control
Maintaining optimal temperature and humidity levels is crucial for successful hatching. Quail eggs are sensitive to extreme temperatures, and a deviation of even 1-2 degrees Fahrenheit can affect the embryo’s development.
The ideal temperature range for quail egg incubation is between 99°F (37.2°C) and 100.5°F (38°C). It’s essential to maintain a consistent temperature throughout the incubation period. Most incubators come with temperature control systems, but it’s also crucial to monitor the temperature manually by placing a thermometer inside the incubator.
Humidity levels also play a significant role in hatching quail eggs. The ideal humidity level is around 50-60% during the first week and increases to 70-80% from day 7 to 14 of incubation. You can achieve this by using a hygrometer and adjusting the misting system on your incubator accordingly.
It’s also essential to be aware of signs of temperature fluctuations, such as soft-brood or embryo death, which can lead to reduced hatch rates or complete failure.
Turning Eggs and Cleaning the Incubator
Regular turning of quail eggs is crucial to prevent them from developing unevenly. You’ll need to turn the eggs three to four times a day during the first 14 days of incubation. To do this, gently lift each egg out of its respective compartment and rotate it 180 degrees to ensure even development.
Cleaning the incubator regularly will also help maintain optimal conditions for hatching. This involves removing any debris or droppings from the trays, wiping down surfaces with a mild detergent, and rinsing thoroughly with warm water. You should aim to clean the incubator at least once a week, although this may need to be done more frequently if you’re using a small incubator or have a large number of eggs.
When cleaning, make sure to check the temperature and humidity levels to ensure they remain within the recommended range. This will help prevent any potential issues that could affect the health of your developing quail embryos. Remember to always follow proper hygiene practices when handling the incubator and its contents to minimize the risk of contamination.
Hatching Day and Post-Hatch Care
Now that you’ve successfully hatched your quail eggs, it’s time to care for these fragile new additions, guiding them through their first few weeks of life. Proper post-hatch care is crucial for their growth and development.
Recognizing Signs of Hatchability
As you approach hatching day with your quail eggs, it’s essential to recognize the signs that indicate they’re ready to emerge. This can be an exciting yet nerve-wracking experience for new breeders. Quails typically take around 16-18 days to hatch, but some breeds may take longer.
One of the earliest signs of hatching is the “pip,” which appears as a small hole on one end of the egg. This usually happens around 24 hours before the chick emerges. You might notice a slight softening of the shell or see a tiny crack in the egg’s surface.
Pipping occurs when the chick pecks at the membrane inside the egg, creating an air pocket that allows it to breathe and ultimately escape. During this time, the egg will start to become more active, with the chick moving and making soft noises.
Keep a close eye on your eggs around 24-48 hours before hatching, as you’ll want to ensure the chicks are able to emerge safely. Be prepared for an early morning hatch – most quails tend to hatch between midnight and 6 am.
Post-Hatch Care and Raising Quails
The first few days after hatching are crucial for newly born quails. They’re delicate and require special care to ensure they grow strong and healthy. When it comes to feeding your quail chicks, start with a commercial chick starter that’s high in protein (around 20-25%). You can also supplement this diet with mealworms or crickets as treats. Fresh water should be available at all times, but make sure the container is shallow enough for them to access easily.
A clean environment is vital for your quails’ well-being. Make sure their enclosure is free from drafts and kept at a comfortable temperature (around 90-100°F). Quail chicks are susceptible to respiratory problems, so keep an eye out for any signs of distress like labored breathing or coughing. You should also maintain good hygiene by changing the bedding daily and disinfecting food and water containers regularly.
Monitor your quails closely during this period as they can be prone to diseases like coccidiosis. Provide a nutritious diet, plenty of fresh water, and a clean environment to minimize the risk of health problems.
Troubleshooting Common Issues
If you’re experiencing issues while trying to hatch your quail eggs, don’t worry – we’ve got some troubleshooting tips to help you get back on track. We’ll walk through common problems and their solutions.
Common Problems with Artificial Incubation
Artificial incubation can be a reliable method for hatching quail eggs, but it’s not immune to common issues that can affect its success. One of the most critical factors is temperature control. If the incubator’s temperature fluctuates or is set too high, it can cause the embryo to develop abnormally, leading to low hatch rates or even death.
Similarly, maintaining a stable humidity level is essential for proper egg development. Quail eggs typically require a relative humidity of 50-60% during incubation. If the humidity drops below this range, the eggs may dry out, causing them to crack or not develop properly.
Additionally, poor air circulation within the incubator can cause uneven temperature distribution and reduced oxygen levels, which can be detrimental to embryo development. Regularly monitoring the incubator’s temperature and humidity levels, as well as ensuring proper ventilation, is crucial for successful artificial incubation of quail eggs.
Natural Incubation Challenges
Natural incubation can be a rewarding experience for quail egg hatching, but it’s not without its challenges. One of the primary concerns is maintaining a consistent temperature. Quails require an incubator with a precise temperature control system to ensure that the eggs are kept at a stable 99-100°F (37.2-37.8°C). Failure to achieve this can result in reduced hatch rates or even embryo mortality.
Another challenge associated with natural incubation is humidity management. Quail eggs require a relatively low humidity level, typically between 50-60%. However, if the incubator becomes too dry, it can cause dehydration of the egg and harm the developing chick. Conversely, excessive moisture can lead to fungal growth and contamination.
To overcome these challenges, you can take several steps. First, invest in an accurate thermometer and hygrometer to monitor temperature and humidity levels. Next, ensure that your incubator has a reliable temperature control system and maintain optimal humidity through regular misting or use of a humidifier. By addressing these common issues, you’ll be better equipped to successfully hatch quail eggs using natural incubation methods.
Frequently Asked Questions
What are some common mistakes beginners make when hatching quail eggs, and how can I avoid them?
When starting out with hatching quail eggs, it’s easy to overlook crucial details that can lead to failed hatch rates or even worse – health issues in the chicks. One common mistake is underestimating the importance of proper temperature and humidity control. Make sure to invest in a reliable incubator and follow the manufacturer’s guidelines for setting up optimal conditions. Additionally, be aware of the specific needs of your quail breed and adjust your setup accordingly.
Can I use a homemade incubator or DIY setup instead of purchasing a commercial one?
While it’s technically possible to create a homemade incubator, we strongly advise against it unless you have extensive experience in building and maintaining incubation equipment. Commercial incubators are designed with precision temperature control, humidity management, and easy cleaning, which significantly reduces the risk of hatch failure or contamination. Investing in a high-quality commercial incubator will save you time, effort, and potentially costly mistakes.
How often should I turn my quail eggs during natural incubation, and what’s the best way to do it?
During natural incubation, turning your eggs is crucial for even development and preventing breakage. A general rule of thumb is to turn your eggs 2-3 times a day, gently rotating them by about 90 degrees each time. You can use a specialized egg turner or manually rotate the eggs by hand. It’s essential to establish a consistent turning schedule to ensure the health and development of your quail chicks.
What if I notice signs of mold or fungal growth in my incubator – how do I safely clean and disinfect it?
Mold and fungus can be devastating to your incubation setup, leading to contaminated eggs and failed hatch rates. If you suspect mold or fungal growth, turn off the incubator immediately and carefully remove all contents. Wash all surfaces with a solution of 1 part bleach to 10 parts water, then rinse thoroughly and let dry before reassembling. Always prioritize hygiene and sanitation in your incubation setup.
Can I hatch quail eggs from any store-bought or farm-raised eggs, or do I need specialized breeding stock?
To achieve the best possible hatch rates, it’s essential to start with high-quality, specifically bred quail eggs from reputable suppliers or breeders. Store-bought eggs may not be suitable for hatching due to various factors such as handling, storage conditions, and potential genetic issues. Ensure you source your eggs from a trusted breeder who specializes in the specific breed you’re interested in, and follow their guidelines for selecting and preparing eggs for incubation.