
Are you tired of messy chicken feeders that attract pests and waste food? Do you want to give your backyard chickens a more efficient and healthy way to eat? Look no further! In this article, we’ll show you how to create a practical and eco-friendly treadle chicken feeder using simple materials and step-by-step instructions.
A treadle chicken feeder is an innovative solution that allows your chickens to access food only when they need it, reducing waste and keeping pests at bay. Not only will this DIY project save you money on feed costs, but it’s also a great way to encourage healthy eating habits for your feathered friends.
In the following guide, we’ll walk you through design considerations, building instructions, and maintenance tips to ensure your treadle chicken feeder is safe, efficient, and easy to use. Whether you’re a seasoned homesteader or just starting out with backyard chickens, this project is perfect for anyone looking to create a more sustainable and self-sufficient flock.
Introduction to Treadle Feeders
Let’s get started on building your DIY treadle chicken feeder, and first we’ll cover the basics of what a treadle feeder is and why it’s an essential part for any backyard flock.
Benefits of Using a Treadle Feeder
Using a treadle feeder offers several benefits that make it an attractive option for managing chicken feed. For one, it significantly reduces waste by only allowing chickens to access their food when they need it. This means less mess and cleanup for you, as well as reduced waste of expensive feed.
Another advantage is increased efficiency. With a traditional feeding system, chickens may overeat or eat when they don’t need to, leading to uneven growth rates and potential health issues. A treadle feeder ensures that each bird gets only what it needs, promoting healthier growth and development.
An added bonus is that treadle feeders are an eco-friendly option. By minimizing waste and reducing the amount of food needed, you’re doing your part for the environment. Plus, the mechanical aspect of a treadle feeder can be powered by manual effort or even solar energy, making it an even more sustainable choice.
What is a Treadle Chicken Feeder?
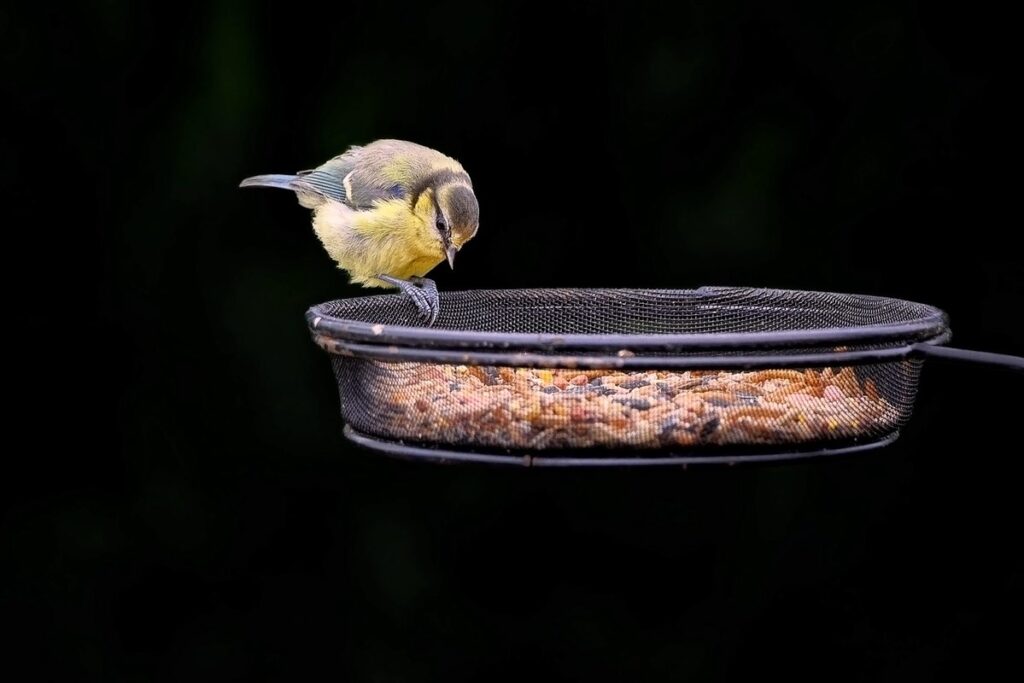
A treadle chicken feeder is an innovative feeding system designed to regulate and monitor the amount of food consumed by chickens. This type of feeder uses a mechanical mechanism that requires birds to step on a platform to access their food, ensuring they only eat when needed.
The basic components of a treadle feeder include a storage container, a platform or tray with sensors or levers, and an enclosure to prevent external interference. When a chicken steps onto the platform, it activates the mechanism, allowing the bird to feed freely. This design is both efficient and secure, as it prevents overeating and reduces waste.
The working principle of a treadle feeder involves a simple yet effective system. The platform or tray has sensors that detect the weight or movement of the chickens, triggering the release of food when stepped upon. Once the chicken leaves the platform, the mechanism returns to its original state, preventing further access until the next feeding cycle. This clever design ensures that your flock only eats what’s necessary, saving you time and money on feed costs.
Design Considerations for Your DIY Project
When building a treadle chicken feeder, you’ll want to consider factors such as materials, size, and accessibility to ensure your design is both functional and safe for your chickens.
Choosing the Right Materials
When it comes to building a treadle chicken feeder, choosing the right materials is crucial for durability and functionality. Start by selecting a suitable wood type that can withstand the elements. Cedar, cypress, and pine are popular options due to their natural resistance to rot and insect damage.
Consider using reclaimed or sustainably sourced woods to reduce waste and environmental impact. When it comes to size, you’ll need 2-3 pieces of 1″ x 6″ or 1″ x 8″ lumber for the feeder’s frame and shelves. Cut these according to your design plan to ensure precise measurements.
Don’t forget metal components like hinges, latches, and possibly a wire mesh enclosure to protect against predators. Look for galvanized steel or rust-resistant options to minimize maintenance. Finally, add some weatherproof screws, nails, or bolts to secure the structure in place. Keep in mind that local regulations might dictate specific material requirements for chicken feeders, so be sure to check with your local authorities before starting your project.
Measuring and Cutting Lumber with Precision
When working on your DIY treadle chicken feeder project, accurately measuring and cutting lumber is crucial to ensure a smooth build process. To avoid costly mistakes, take the time to double-check your measurements before cutting.
Start by investing in a reliable tape measure that can withstand outdoor conditions. Use it to measure each piece of lumber multiple times to verify accuracy. When working with power tools, always keep safety precautions top of mind. For example, wear protective eyewear and a dust mask when operating a circular saw or drill press.
To cut lumber accurately, use a miter saw or a hand saw specifically designed for curved cuts. If using a power tool, set the correct angle and depth settings according to your design requirements. Always keep the work area clear of clutter and maintain a stable cutting surface to prevent accidents.
When measuring and cutting lumber, remember that precision is key. A slight mistake in measurement can lead to costly rework or even render parts unusable. Take your time and be methodical in your approach to ensure accurate cuts every time.
Building the Base and Frame of the Feeder
Next, we’ll be building the base and frame of your DIY treadle chicken feeder, a crucial step to creating a sturdy and functional feeding system for your flock. This foundation will provide stability and support for the entire project.
Constructing the Frame
When constructing the frame of your DIY treadle chicken feeder, it’s essential to focus on stability and durability. Begin by assembling the corners using screws or nails, ensuring they are secure and evenly spaced. Use a sturdy wood, such as 2x4s or 3/4-inch plywood, for added strength.
Next, add supports between the corners, about 12-18 inches apart, to prevent sagging under weight. These supports can be attached using screws or nails, depending on the type of material you’re working with. As you assemble the frame, double-check its stability by gently tugging on it in various directions.
To ensure a level surface, attach a small piece of wood or a metal bracket at the bottom of each corner, making sure they are all aligned and evenly spaced. This will help distribute weight evenly and prevent the feeder from tipping over. By following these steps, you’ll have a sturdy frame that can support your chickens’ feeding needs for years to come.
Attaching the Treadle Mechanism
Now that you have completed building the base and frame of your treadle chicken feeder, it’s time to attach the treadle mechanism. This is a crucial step as it will allow your chickens to access their food only when they need to, keeping pests out and reducing waste.
To attach the treadle mechanism, start by carefully placing it onto the base of the feeder, ensuring that it is centered and even. Use screws or bolts to secure the mechanism to the frame, making sure to tighten them firmly in a crisscross pattern to avoid any uneven weight distribution. This will help prevent the feeder from tipping over when the chickens are using it.
It’s essential to distribute the weight of the treadle mechanism evenly across the base of the feeder. You can achieve this by placing small metal or plastic feet on either side of the base, allowing the feeder to sit sturdily on the ground. This will prevent any movement or instability, ensuring that your chickens can feed safely and efficiently.
Adding the Feed Tray and Hopper
Now that you’ve built your frame and installed the treadle mechanism, it’s time to add the crucial feed tray and hopper components to complete your DIY feeder. Let’s get started!
Designing the Feed Tray
When designing the feed tray for your DIY treadle chicken feeder, it’s essential to strike a balance between minimizing waste and ensuring easy access for your chickens. A well-designed feed tray can make all the difference in maintaining a clean and healthy coop.
Consider using a tray with raised edges or a lip to contain spills and prevent food from scattering on the floor. You can also add a slight incline to the tray, allowing excess food to slide towards the edge and preventing waste. For example, you could attach a small piece of wood or plastic at an angle to the inside of the tray.
Another key consideration is the size of the feed tray. Ensure it’s large enough for your chickens’ needs but not so big that it creates a mess. A good rule of thumb is to provide about 1-2 pounds of food per bird per day, depending on their age and breed. You can also experiment with different tray shapes and sizes to find what works best for your flock.
Remember, a well-designed feed tray should make mealtime easy and stress-free for both you and your chickens. By incorporating these simple design elements, you’ll be able to reduce waste and keep your coop clean and tidy.
Integrating the Hopper Mechanism
Now that you have attached the feed tray to your DIY treadle chicken feeder, it’s time to integrate the hopper mechanism. This crucial component allows for efficient and easy feeding of your flock. To attach the hopper, start by locating the designated mounting points on both the feeder body and the hopper itself. These usually consist of small bolts or screws that need to be securely fastened.
As you assemble the hopper mechanism, take note of its adjustable capacity feature. This allows you to customize the amount of feed dispensed according to your flock’s needs. Adjusting the hopper is typically a matter of turning a screw or lever, which in turn regulates the flow of feed into the tray below. Make sure to follow the manufacturer’s instructions for optimal performance.
For easy cleaning and maintenance, ensure that the hopper is designed with removable parts. This often includes the feed chute and any other components that come into contact with the feed. Regularly inspect these areas for clogs or blockages, and clean them as needed to prevent issues with feeding efficiency.
Installing the Feeder in Your Coop or Run
Now that you have your treadle feeder built, let’s get it safely installed in your coop or run where your hens can access food easily. This section will walk you through a successful installation process.
Placement Considerations
When placing your treadle feeder within the coop or run, consider the accessibility and ease of use for both you and your chickens. A good rule of thumb is to position it near a window or door that allows you to observe your birds while they eat.
Avoid placing the feeder too close to nesting boxes or areas where your hens tend to scratch and peck at the ground, as this can lead to mess and waste. Instead, place it in an area with smooth flooring that’s easy to clean.
Consider the height of the feeder relative to your chickens’ backsides – around 12-18 inches is a good starting point. This allows them to easily access the food while minimizing the risk of overeating or straining their necks.
Keep in mind that the placement of the treadle mechanism itself should be accessible from both sides, allowing you to easily clean and maintain it without having to remove any feed.
Connecting to an Existing Feed System
Integrating the treadle feeder into your existing feed system is a straightforward process that requires some basic adjustments. If you’re currently using a hanging feeder or a trough-style feeder, you can easily swap it out with the new treadle feeder. However, if you have a more complex feed system in place, such as an automated feeding system, you may need to make some modifications.
To connect the treadle feeder to your existing feed system, start by identifying the type of feed system you’re using and the type of feeder you’ll be replacing. Next, determine the location of the feed outlet on your existing feeder or feed system. You’ll want this to align with the input port on the treadle feeder.
Once you’ve located the feed outlet and input port, simply attach a length of tubing or pipe between them. This will allow the feed to flow from your existing feeder or feed system into the treadle feeder. If necessary, add some additional fittings or adapters to secure the connection.
It’s also a good idea to clean out any debris or old feed residue from your existing feeder or feed system before connecting the treadle feeder. This will ensure that you don’t contaminate the new feeder with old feed particles.
Maintenance and Troubleshooting Tips
Now that you’ve built your treadle chicken feeder, it’s time to keep it running smoothly. This section covers essential maintenance and troubleshooting tips for a long-lasting and efficient feeder.
Cleaning and Maintenance Routines
Regular cleaning and maintenance are crucial to ensure the longevity of your DIY treadle chicken feeder. It’s essential to establish a routine that fits your lifestyle and schedule. Aim to clean the feeder at least once a week, ideally during peak egg-laying seasons when the coop is busiest.
Start by removing any debris or food scraps from the feeding area. Use a soft-bristled brush or a small vacuum cleaner to gently sweep away any dirt or dust accumulated on the treadle and surrounding areas. Next, wash the feeder with mild soap and warm water, making sure to scrub all surfaces thoroughly. Rinse well and let it air dry before returning it to its place.
Consider implementing a rotating maintenance schedule for yourself and other household members to ensure consistency. This could be as simple as dedicating one day per week or every two weeks for coop and feeder cleaning. By doing so, you’ll not only maintain your feeder’s hygiene but also reduce the risk of attracting pests and diseases in your flock.
Common Issues and Solutions
As you assemble and use your DIY treadle chicken feeder, you may encounter some common issues that can be easily resolved with a few tweaks. One of the most frustrating problems is a jammed mechanism. This usually occurs when the feed trough or the treadle plate gets clogged with debris or old food particles. To resolve this issue, simply inspect the area and remove any blockages. If necessary, disassemble the feeder to clean it thoroughly.
Another common problem is uneven feed flow. This can be caused by a misaligned feed tray or a worn-out treadle plate. Check that the feed tray is properly seated and adjust its position if needed. You can also try replacing the treadle plate with a new one if you suspect it’s the culprit. If your feeder has adjustable components, make sure they’re set correctly to ensure an even feed flow.
By regularly inspecting and maintaining your DIY treadle chicken feeder, you’ll be able to prevent these issues from arising in the first place. Remember to clean your feeder at least once a week, and lubricate its moving parts as needed.
Conclusion: Enjoying Your DIY Treadle Chicken Feeder
Now that your DIY treadle chicken feeder is up and running, let’s review how to get the most out of this efficient feeding system for your flock.
What to Expect from Your New Feeder
As you start using your new DIY treadle chicken feeder, you can expect a significant reduction in waste and an increase in efficiency. The days of scattered feed on the ground are behind you, and your flock will be healthier for it. With a treadle feeder, your chickens will only access their food when they step on the treadle, ensuring that no food is wasted due to foraging or pecking.
The benefits of using a DIY treadle chicken feeder go beyond just reducing waste, however. By providing a consistent and reliable food source, you’ll notice an improvement in your flock’s overall health and well-being. They’ll be less stressed from competing with other birds for food, and their digestive systems will thank you for the reduced mess.
You can also expect to see improved egg production and quality as your hens are able to access their nutrients more efficiently. And let’s not forget about the added convenience of a treadle feeder – no more scooping up spilled feed or worrying about it being contaminated by droppings.
In terms of maintenance, you’ll be pleased to know that a DIY treadle chicken feeder is relatively low-maintenance compared to other types of feeders. The design allows for easy cleaning and repairs, and the durable materials used will withstand the wear and tear of daily use. Simply empty the tray when it’s full, give it a quick clean, and refill – it’s as simple as that.
By investing in a DIY treadle chicken feeder, you’re not only improving the health and happiness of your flock but also making their care easier and more efficient for yourself.
Frequently Asked Questions
Can I use a treadle feeder with multiple chickens, or is it best suited for small flocks?
Yes, you can definitely use a treadle feeder with multiple chickens! In fact, they’re ideal for managing feed for larger flocks. Just make sure to choose a feeder design that accommodates your flock size and adjust the feeding capacity accordingly.
How often should I clean my treadle chicken feeder, and what’s the best way to do it?
Cleaning your treadle feeder regularly is essential to prevent waste buildup and pest infestations. Aim to clean it every 2-3 days during peak laying seasons and daily in hot weather or with large flocks. Use a gentle detergent and scrub brush to remove debris and sanitize with vinegar.
Can I integrate my new treadle feeder with an existing feed system, like an auto-feeder?
Yes, you can definitely connect your treadle feeder to an existing feed system! This is a great way to streamline feeding operations and reduce labor. Just make sure to choose a design that’s compatible with your existing setup and follow the manufacturer’s instructions for integration.
What happens if my chickens get stuck on the treadle? Is there a risk of injury?
No, there’s no significant risk of injury from getting stuck on the treadle. The mechanism is designed to be safe and humane, allowing birds to easily exit when they’re finished eating. However, it’s always a good idea to monitor your flock during the transition period and make adjustments as needed.
Can I build a DIY treadle feeder using recycled materials or repurpose an old feeder?
While you can get creative with materials, we recommend building from scratch using new, suitable lumber to ensure durability and food safety. This will also help prevent pest infestations and minimize waste buildup. However, feel free to upcycle old feeders for the frame or other components – just make sure they’re clean and free of contaminants!