
Are you tired of dealing with disappointing hatch rates from your precious duck eggs? Late-developing duck eggs can be frustrating, especially when you’ve invested time and resources into their care. As it turns out, duck egg turning is a crucial factor in ensuring these little bundles of joy develop properly and increase the chances of successful hatching.
In this comprehensive guide, we’ll delve into the world of late-developing duck eggs and explore how to identify and address the issue. You’ll learn valuable tips on improving hatchability rates through expert advice on egg turning techniques and strategies for developing effective breeding programs. By the end of this article, you’ll have a better understanding of the importance of proper duck egg care and be equipped with actionable insights to take your breeding program to the next level.
Understanding Duck Egg Biology
Before we dive into the art of duck egg turning, let’s take a closer look at what makes these eggs unique and perfect for late harvesting. Understanding their biology will help you unlock their full potential.
Life Cycle Stages of Duck Eggs
A duck egg’s life cycle is a remarkable process that’s essential to understanding the art of turning late-harvest eggs. From laying to hatching, these stages are crucial for ensuring the chick’s healthy development and viability. Let’s break down the different stages:
When a duck lays an egg, it enters its first stage: breeding (0-18 days). The embryo begins to form, but it won’t develop significantly until later. During this time, the temperature of the incubator or brooder should be maintained at around 99°F for most breeds.
At around day 18, the egg starts entering the incubation period, which is the most critical stage (18-24 days). The embryo develops rapidly during this time, and the duckling’s organs and features begin to form. It’s essential to maintain a consistent temperature of 99°F for optimal development.
In the next stage, called pipping (21-24 days), the chick starts pecking at the shell from inside the egg. This is usually accompanied by strong kicking movements as the duckling prepares to break free. During this time, it’s crucial to be gentle when handling the eggs and avoid any vibrations that could harm the developing embryo.
Around day 25, the hatching process begins in earnest (24-28 days). The chick slowly emerges from its shell, using a combination of pecking and egg-tooth scraping. At this stage, it’s essential to provide adequate ventilation and maintain a humidity level between 50-60%.
As you can see, turning late-harvest duck eggs requires patience and attention to detail throughout the entire process. Understanding these stages will help you better care for your precious eggs until they hatch successfully.
Factors Influencing Fertility and Hatchability Rates
When working with duck eggs that have been left to turn late, it’s essential to understand the various factors that can impact fertility and hatchability rates. Age is a significant factor, as older eggs tend to have lower fertility rates due to the natural decline of sperm quality over time.
Breed also plays a crucial role in determining fertility and hatchability rates. Some duck breeds are more prolific layers than others, but this doesn’t always translate to better fertility or hatchability. For example, Khaki Campbells are known for their high egg production, but they may not have the same fertility rate as other breeds.
Proper nutrition is also vital in maintaining healthy eggs and sperm. A diet rich in antioxidants, vitamins, and minerals can help support reproductive health in ducks. Adequate water intake and a stress-free environment can also contribute to better fertility rates.
Environmental conditions such as temperature fluctuations, humidity levels, and exposure to light or dark periods can also impact fertility and hatchability. For instance, duck eggs typically have a 50-60% chance of hatching when incubated at optimal temperatures between 99°F and 100°F.
Identifying Late-Developing Duck Eggs
When inspecting duck eggs, it’s essential to recognize late-developing eggs that may not have reached full maturity, which can affect their turning success. Look for these subtle signs of immaturity.
Physical Characteristics of Late-Developing Eggs
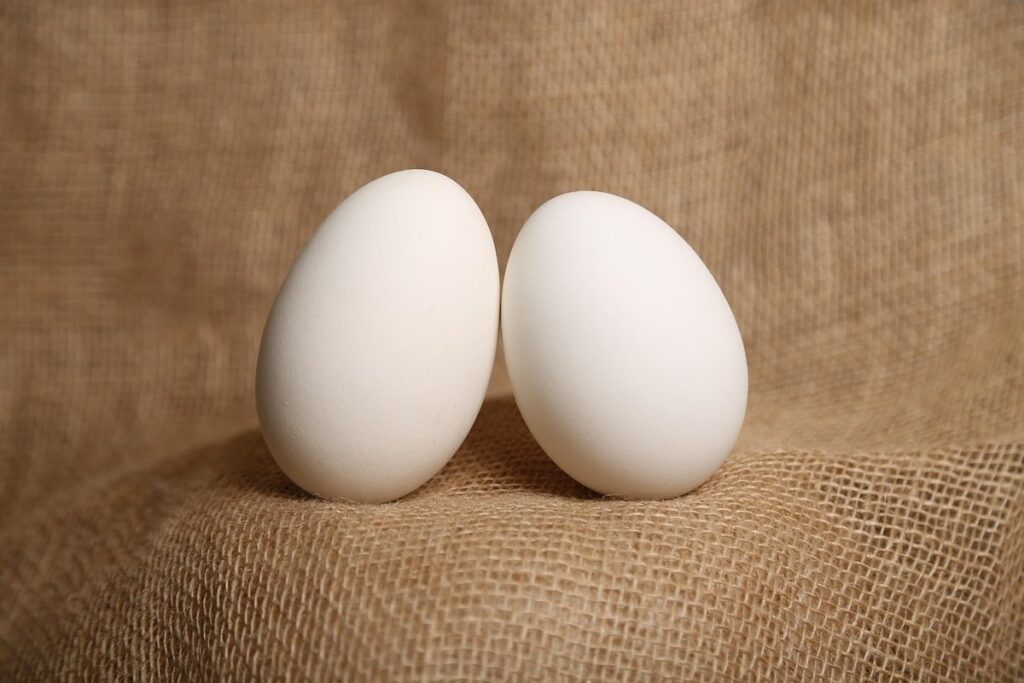
When handling late-developing duck eggs, it’s essential to recognize the physical characteristics that set them apart from their ready-to-hatch counterparts. One of the most obvious signs is a delayed increase in egg size. Late-developing eggs tend to be smaller than expected at certain stages of incubation, with some varieties barely reaching 1/3 of their full-grown size.
Another distinguishing feature is the shell texture and pattern. Late-developing eggs often have thinner shells and may exhibit unusual markings or ridges, which can be a result of hormonal imbalances affecting calcium absorption during development.
The yolk-to-white ratio is also an important factor to consider. Late-developing eggs usually have larger yolks relative to their white, indicating prolonged nutrient storage within the egg. This can sometimes lead to visible coloration changes in the yolk itself, giving it a darker or more mottled appearance.
Lastly, be aware of the egg’s specific gravity. Late-developing eggs may float higher than expected due to the aforementioned differences in density and moisture content.
Egg Weight and Measurement Analysis
When it comes to identifying potential issues with hatching, egg weight and measurement analysis can be an invaluable tool. A single-duck egg is typically between 50-70 grams, while a duck egg from multiple breeds (cross-bred) can range from 55-90 grams in size.
Variations in size and weight can indicate late development or potential issues with hatching. For example, if the average egg weight for your flock is consistently lower than expected, it may be a sign that your ducks are not receiving adequate nutrition.
To analyze egg weight and measurement effectively:
* Record the date, breed of duck, and individual egg weight.
* Use a reliable scale to ensure accurate measurements.
* Identify any patterns or anomalies in your data. If you notice a significant number of smaller eggs, it may be an indication of nutrient deficiencies or poor breeding habits.
By monitoring egg weight and measurement over time, you can gain valuable insights into the health and fertility of your flock. This knowledge will enable you to make informed decisions about breeding and feeding practices, ultimately improving the chances of successful hatchings.
Causes of Delayed Development
When it comes to duck egg turning, knowing the common causes of delayed development is crucial to avoiding frustration and achieving success. Let’s explore some of the most prevalent reasons for delays in the incubation process.
Nutrition Deficiencies and Impact on Duck Egg Development
Nutritional deficiencies can significantly impact the development of duck eggs, leading to delayed hatching. A diet lacking essential nutrients such as protein, calcium, and phosphorus can hinder embryonic growth and development. For instance, a study on duck egg production found that eggs from hens fed a low-protein diet had lower hatchability rates compared to those fed a balanced diet.
Environmental factors also play a crucial role in maintaining optimal nutrition for ducks. Access to clean water, adequate shelter, and proper ventilation can influence the overall health of the flock. A dirty or overcrowded environment can lead to stress, which can manifest as nutritional deficiencies. For example, if ducks are not provided with enough space to roam, they may develop behavioral issues that compromise their appetite and nutrient intake.
To prevent nutritional deficiencies, ensure your ducks have access to a well-balanced feed that meets their nutritional needs. Additionally, provide supplements such as calcium and vitamins as necessary. Monitor the health of your flock regularly and make adjustments to their diet or environment accordingly.
Stress Factors Affecting Embryo Growth and Development
Stress factors can significantly impact embryo growth and hatching success in duck eggs. Temperature fluctuations are one of the most critical stressors to consider. A temperature difference of just 1°C between incubation and storage can disrupt embryonic development, causing delayed or even failed hatchings.
Humidity levels also play a crucial role in maintaining a stable environment for embryo growth. Extreme humidity changes can cause moisture imbalance within the egg, leading to issues with gas exchange and nutrient delivery. It’s essential to maintain consistent humidity levels between 50-60% during incubation.
Handling practices are another significant stress factor that can negatively impact embryo development. Rough handling or excessive vibrations can cause physical trauma to the developing embryo, compromising its growth and increasing the risk of failure to hatch. When turning duck eggs, it’s vital to handle them gently and minimize handling as much as possible.
By being aware of these common stress factors, you can take steps to mitigate their impact on your egg development process. Maintain a stable incubation environment with consistent temperature and humidity levels, and handle the eggs with care. This will help create an ideal atmosphere for successful hatching and reduce the risk of delayed development.
Strategies for Improving Late-Hatching Success
As you’ve likely encountered issues with late-hatching ducklings, let’s dive into some effective strategies to boost your success and achieve a higher hatch rate. We’ll explore practical tips and techniques to overcome common challenges.
Breeding Program Considerations for Improved Egg Quality
When developing a breeding program aimed at improving egg quality for late-hatching success, several key considerations come into play. Firstly, selecting ducks with desirable traits such as thicker eggshells and more robust yolks is crucial. This involves identifying breed-specific characteristics and prioritizing genetic diversity to mitigate potential losses due to disease or environmental factors.
It’s essential to consider the interplay between genetics, nutrition, and environment in determining egg quality. For instance, research has shown that duck breeds with a higher proportion of Muscovy ancestry tend to lay thicker eggs, while those with a greater percentage of Khaki Campbell ancestry exhibit improved hatch rates.
Breeding programs should prioritize careful selection and culling to promote genetic diversity while maintaining desirable traits. This may involve collaborating with reputable breeders or participating in formal breeding programs to access diverse genetic pools. By thoughtfully managing genetic resources, duck farmers can increase the chances of successful late-hatching and ensure a consistent supply of high-quality eggs for egg turning.
Environmental Control Measures to Support Fertilization and Embryonic Development
When it comes to supporting fertilization and embryonic development in duck eggs, maintaining a controlled environment is crucial. The ideal incubation temperature for ducks is between 99°F and 100°F (37°C to 38°C), with slight variations depending on the breed. It’s essential to maintain a consistent temperature, as fluctuations can lead to reduced fertility or even embryo mortality.
Humidity levels also play a significant role in embryonic development. The air cell of the egg should be around 8-10% moisture content, which helps regulate heat transfer and prevents dehydration. A relative humidity of 50-60% is ideal for most duck breeds during incubation.
To achieve these conditions, you can use an incubator with precise temperature and humidity control. Alternatively, you can create a controlled environment using a brooder or a specialized turning device that maintains optimal temperatures and humidity levels. Regular monitoring of temperature and humidity levels will help ensure the best possible conditions for fertilization and embryonic development.
Managing Expectations and Planning Ahead
When turning duck eggs, it’s easy to get caught up in the excitement of harvesting late. But careful planning is crucial for a successful outcome, so let’s talk expectations.
Communicating with Breeders and Hatchery Staff
Clear communication is crucial when working with breeders and hatchery staff to ensure successful duck egg turning. When you’re dealing with a late harvest, it’s essential to have open discussions about hatching expectations and potential issues.
Start by contacting the breeder or hatchery well in advance of your desired hatching date. Discuss their experience with late-harvest eggs and what results you can expect. Ask about any breed-specific considerations that may impact hatching rates. This information will help you set realistic goals and make informed decisions throughout the process.
When communicating, be specific about your needs and expectations. Clearly state your target hatching date and any relevant details about the flock or incubation conditions. Breeders and hatchery staff often have expertise in specific areas, so don’t hesitate to ask for guidance on things like egg handling, storage, and incubation protocols.
By maintaining open lines of communication throughout the process, you can work together with breeders and hatchery staff to overcome potential challenges and achieve successful hatches.
Developing a Contingency Plan for Unexpected Delays or Failures
Developing contingency plans is crucial for overcoming unexpected delays or failures in duck egg development. Late harvests can be unpredictable, and a solid backup plan will help you navigate challenges with confidence. Consider implementing a dual-breeding program to ensure a steady supply of fertile eggs. This means maintaining two separate flocks, each producing a unique set of genetics that can serve as backups for the other.
In addition to breeding programs, it’s essential to have emergency incubation facilities on standby. These can be portable incubators or designated areas in your coop that are specifically designed for critical care. Regularly testing and calibrating these systems will guarantee they’re ready when you need them most. You should also identify a reliable local supplier of replacement eggs or chicks, in case an unexpected failure forces you to restart.
Having a contingency plan in place will give you peace of mind and allow you to focus on nurturing your late harvest ducklings rather than scrambling for solutions under pressure.
Frequently Asked Questions
What’s the ideal frequency for turning duck eggs to prevent late development?
The ideal frequency for turning duck eggs depends on various factors, including the type of incubator and the specific breed. A general rule of thumb is to turn eggs 2-3 times a day for the first week, then once or twice daily until transfer. It’s also essential to maintain a consistent temperature range between 99°F and 100°F (37°C to 38°C) during this period.
How can I identify late-developing duck eggs beyond just their physical characteristics?
To accurately determine if an egg is late-developing, you should monitor the embryo’s growth through regular candling. This process involves shining a light through the eggshell to observe the development of the embryo. Regular candling will help you detect any potential issues early on and make informed decisions about the health of your eggs.
Are there specific nutrition deficiencies that can lead to delayed duck egg development?
Yes, several nutrient deficiencies can impact duck egg development, including inadequate protein intake, insufficient calcium levels, and an imbalanced fatty acid profile. Maintaining a balanced diet for your breeding stock is crucial in ensuring optimal fertility and hatchability rates.
Can I use a thermometer to monitor the temperature of my incubator for late-harvest eggs?
Yes, using a thermometer to monitor the temperature of your incubator is essential when working with late-harvest duck eggs. Maintaining a consistent temperature range between 99°F and 100°F (37°C to 38°C) will help prevent delayed development and promote healthy embryo growth.
How do I develop a contingency plan for unexpected delays or failures in my breeding program?
To develop an effective contingency plan, regularly assess your current operations, identify potential risks, and create strategies for mitigating them. This can include maintaining a comprehensive record of each egg’s progress, conducting regular health checks on your stock, and establishing partnerships with other breeders to share knowledge and resources.