
As a backyard chicken keeper, you’re likely no stranger to the importance of maintaining a healthy temperature in your brooder. But ensuring accurate temperature readings can be easier said than done. The right thermometer placement is crucial for keeping your young chicks safe and promoting their growth and development. Unfortunately, placing thermometers incorrectly can lead to inaccurate readings, which can have devastating consequences for your flock’s health.
In this article, we’ll explore the best practices for choosing the right thermometer type and strategically placing it within your brooder to ensure accurate temperature control. We’ll discuss the different types of thermometers available and provide expert tips on where to place them for optimal results. By following these simple yet essential guidelines, you can create a safe and healthy environment for your chicks to grow and thrive.
Understanding the Importance of Accurate Temperature Control
Accurate temperature control is crucial for your chicks’ health and growth, and understanding its importance will help you place that brooder thermometer perfectly. Let’s dive into why it matters so much.
Role of Temperature in Brooder Health and Development
Temperature plays a crucial role in brooder health and development. A proper temperature range is essential for optimal growth and development of young chicks. The ideal temperature range for a brooder depends on the age of the chicks, with temperatures ranging from 90-95°F (32-35°C) for the first week to around 80-85°F (27-29°C) by the time they’re about two weeks old.
However, it’s not just about the temperature itself but also how quickly it drops or rises. Sudden changes in temperature can be stressful for chicks and lead to health issues. For instance, if the temperature drops too low, chicks may become lethargic, stop eating, and even develop respiratory problems. Conversely, high temperatures can cause dehydration and heat stress.
To ensure optimal brooder health, it’s essential to maintain a stable temperature range with minimal fluctuations. This can be achieved by installing a good quality thermometer that provides accurate readings, as well as investing in proper ventilation systems to regulate the air flow within the brooder.
Common Issues with Temperature Control in Brooders
Maintaining a stable temperature environment is crucial for young chickens’ growth and development. However, backyard chicken keepers and commercial farmers often face common issues when trying to achieve this.
One of the most significant problems is inconsistent temperature readings due to inaccurate brooder thermometer placement. When thermometers are placed too close to heat sources or in drafty areas, they can provide false readings, leading to under- or over-heating. This can cause stress and discomfort for the chicks, affecting their growth rates and overall health.
Another issue is difficulty in maintaining a consistent temperature gradient within the brooder. A temperature difference of 5-10°F between one end and the other is essential for young chickens’ natural behavior and comfort. However, if the thermometer is placed at a single point, it can be challenging to achieve this gradient, resulting in chicks clustering around heat sources or avoiding cooler areas.
Additionally, some farmers may struggle with thermometers that are not accurate enough to detect small temperature fluctuations. A 1-2°F difference can make a significant impact on the chicks’ well-being. By choosing the right thermometer placement and type, backyard chicken keepers and commercial farmers can ensure a stable and healthy environment for their young chickens.
Choosing the Right Thermometer Type for Your Needs
With so many types of thermometers available, selecting the right one can be overwhelming. Let’s break down the key factors to consider when choosing a thermometer for your brooder.
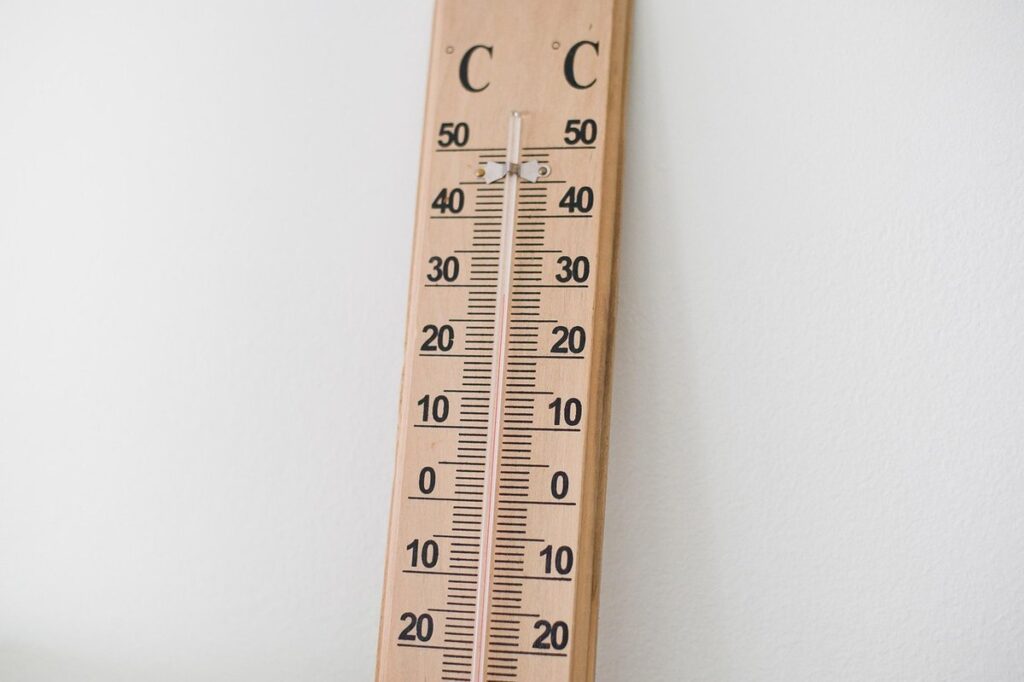
Digital vs. Analog Thermometers: Pros and Cons
When it comes to choosing a thermometer for your brooder, you’ll often come across two main types: digital and analog. Both have their advantages and disadvantages that are crucial to consider before making a decision.
Digital thermometers offer high accuracy and can quickly display temperature readings on an LCD screen. They’re also relatively easy to use, as most require simply inserting the probe into the brooder and turning it on. However, some users may find the battery requirements inconvenient, especially if you have multiple devices to manage. Additionally, digital thermometers can be more expensive than their analog counterparts.
On the other hand, analog thermometers rely on a dial or needle to indicate temperature levels. They’re often less expensive upfront but require manual calibration and can be slower to respond to changes in temperature. Despite these drawbacks, many poultry keepers appreciate the simplicity of analog thermometers and find them to be reliable over time.
To determine which type of thermometer is best for your brooder, consider your specific needs and circumstances. If you value speed and accuracy above convenience and cost, digital might be the way to go. However, if you’re on a tight budget or prefer a more low-maintenance option, analog could be a suitable choice.
Wireless or Wired Thermometers: Which to Choose?
When it comes to monitoring the temperature inside your brooder, you’ll need to decide between wireless (or remote) and wired thermometers. Both options have their pros and cons, which we’ll explore below.
Wireless thermometers offer greater flexibility, as they can be placed anywhere within range of the sensor unit. This makes them ideal for large or complex brooding setups where cables might get in the way. Some wireless models also come with built-in alerts that notify you when temperatures stray outside a safe range – perfect for busy farmers who can’t constantly check on their flock.
However, wireless thermometers often require more maintenance and may be prone to interference from other devices. The batteries powering these units can also run out quickly if not checked regularly. Wired thermometers, on the other hand, provide a more direct reading and eliminate concerns about battery life or signal loss. But they do limit your placement options due to cable length constraints.
Ultimately, choose a wireless thermometer for convenience and flexibility, but be prepared to perform regular maintenance. For a more straightforward setup, opt for a wired model – just ensure you’ve considered the physical space limitations of the brooder.
Best Placement Strategies for Accurate Temperature Readings
Now that we’ve covered the basics of brooder thermometers, let’s dive into the crucial placement strategies to ensure you get accurate temperature readings every time. This section will walk you through the most effective ways to position your thermometer for precise results.
Near the Heat Source vs. Away from It
When it comes to placing thermometers near heat sources, there’s often confusion about the optimal placement. The goal is to ensure accurate temperature readings that reflect the actual conditions within the brooder. Placing a thermometer directly above or beside a heat lamp can lead to inaccuracies due to radiant heat distortion. This phenomenon occurs when the thermometer is exposed to direct radiation from the heat source, causing it to read higher temperatures than what’s actually present in the brooder.
To avoid this issue, place thermometers at least 6-8 inches away from any heat source, ideally on an outside wall or a corner of the brooder. This distance allows for more accurate readings by reducing radiant heat distortion. It’s also essential to consider the thermometer’s sensitivity and accuracy when choosing its placement. Some digital thermometers are designed to compensate for external influences like radiation, so be sure to check your device’s specifications before placing it in the brooder.
Remember that accurate temperature readings are crucial for maintaining a safe and healthy environment for your chicks.
Thermometer Placement Near Ventilation Openings
When placing a thermometer near ventilation openings, it’s essential to consider the impact of air circulation and draft on temperature readings. Ventilation openings are crucial for maintaining a healthy environment for chicks, but they can also cause temperature fluctuations.
Air circulation around the brooder can significantly affect temperature readings. If the ventilation opening is too close to the thermometer, cold drafts may be drawn into the sensor, causing it to read lower temperatures than actual. This can lead to overcompensation and improper heating or cooling of the brooder.
To avoid this issue, position the thermometer away from direct air flow around ventilation openings. Aim for a distance of at least 6-8 inches between the thermometer and any ventilation opening. You can also consider using a shield or guard to deflect cold drafts away from the sensor.
Additionally, ensure that the thermometer is not located in an area where warm air rises rapidly, causing temperature readings to be higher than actual. A good rule of thumb is to place the thermometer about 6-12 inches above the brooder floor, allowing for accurate reading while minimizing draft impact.
Additional Factors Affecting Temperature Readings
When it comes to getting accurate temperature readings, there are a few more factors you need to consider beyond just brooder placement. Lighting and air circulation also play crucial roles in your thermometer’s accuracy.
Humidity and Its Impact on Thermometer Accuracy
When it comes to brooder temperature measurements, humidity is another crucial factor that can impact thermometer accuracy. High humidity levels can cause thermometers to read lower temperatures than actual, while low humidity can result in higher readings. This discrepancy can be attributed to the way thermometers measure temperature – they work by detecting changes in air pressure and density, which are affected by humidity.
To minimize the influence of humidity on your brooder thermometer’s accuracy, ensure good ventilation within the enclosure. Proper airflow helps maintain stable humidity levels and prevents condensation from building up on the thermometer or surrounding surfaces. You can also invest in a thermometer specifically designed for high-humidity environments, such as those using capacitive sensors. Furthermore, position your thermometer away from drafts but not too close to heat sources – ideally 3-4 inches above the litter line. Regularly cleaning and maintaining your thermometer will also help prevent any issues related to humidity.
Other Environmental Factors Influencing Temperature Readings
When placing a brooder thermometer, it’s easy to overlook factors other than direct sunlight that might affect temperature readings. However, these environmental influences can significantly impact the accuracy of your thermometer.
One significant factor is air movement within the brooder. If air circulation is poor, heat can become trapped near the thermometer, leading to artificially high readings. Conversely, if air movement is excessive, it may cool the thermometer, resulting in lower-than-actual temperatures. Ensure adequate ventilation by placing the thermometer at least 6 inches away from any walls or obstructions that could hinder airflow.
Another consideration is proximity to windows or exterior walls. These areas tend to be cooler due to natural convection and direct exposure to outdoor air. Placing a thermometer near these zones can result in lower-than-actual temperatures. If you must place the thermometer near an exterior wall, ensure it’s at least 12 inches away from any openings to minimize temperature fluctuations caused by drafts.
Proper placement of your brooder thermometer involves more than just considering direct sunlight exposure – it requires accounting for air movement and proximity to cooler areas within the room.
Frequently Asked Questions
What if I’m unsure about the accuracy of my thermometer readings?
Double-check your thermometer placement by reviewing our best practices for choosing a thermocouple location within 6-12 inches from the brooder floor. Ensure that you’re not placing it too close to direct heat sources or ventilation openings, as this can lead to inaccurate temperature control.
Can I use a single thermometer for multiple age groups of chicks?
While it’s tempting to reuse a thermometer across different brood cycles, we recommend using separate thermometers for each age group due to changing temperature requirements. Chicks’ growth stages demand distinct temperature ranges (e.g., 90-100°F for day-old chicks and 70-80°F for week-old chicks).
How often should I replace my analog thermometer?
Analog thermometers typically last around 5-7 years, depending on usage and quality. If you notice a decline in accuracy or the thermometer is damaged, it’s time to consider replacing it with a digital thermometer offering higher precision.
What if I have limited space for multiple thermometers?
In cramped brooder environments, use multi-function thermometers that can provide humidity readings as well. This will save space while still allowing you to track temperature and relative humidity levels accurately.
Are there specific considerations for wireless thermometers in extreme temperatures or windy conditions?
Yes, wireless thermometers might not function optimally in extremely cold temperatures (below 32°F) or during strong wind gusts, which can disrupt signal transmission. In such cases, consider using a wired thermometer with shorter cables to ensure reliable readings.