
The joys of backyard chickens! There’s nothing quite like collecting fresh eggs from your own coop, but have you ever noticed that sometimes they come with an unwanted bonus: a thick, sticky bloom on their surface? Don’t worry, it’s not a sign of anything serious – just a natural process called “cuticle” or “bloom” that can make cleaning and handling the eggs more difficult. But what causes this unsightly coating, and how do you prevent it from happening in the first place? In this article, we’ll explore the ins and outs of egg bloom, including its causes, symptoms, prevention methods, treatment options, and best practices for maintaining egg cleanliness – so your fresh eggs stay clean and healthy.
Causes of Egg Bloom
Egg bloom can be caused by a variety of factors, from bacterial contamination to improper egg washing and handling techniques. Let’s explore some common causes together.
Bacterial Infections
Bacterial infections can be one of the primary causes of egg bloom, particularly when it comes to contamination on the surface of the eggs. This type of infection is usually caused by Salmonella and E. coli bacteria. These pathogens can enter the egg through the reproductive tract of the hen or during processing.
It’s essential to recognize that certain types of bacteria are more likely to cause egg bloom than others. For instance, psychrotrophic bacteria thrive in cooler temperatures and can survive refrigeration. This means that even if you keep your eggs stored at a safe temperature, these pathogens can still cause issues.
To prevent bacterial infections from causing egg bloom, maintain a clean environment for your chickens. Regularly disinfect the coop and nesting boxes to reduce the risk of contamination. Also, make sure to wash your hands thoroughly before handling eggs or any other surfaces that come into contact with them. Keep in mind that proper handling is just as important as storage conditions.
Physical Factors
When it comes to egg bloom, environmental conditions play a significant role. Temperature fluctuations can cause the cuticle of the egg to dry out and become brittle, leading to a buildup of dirt and bacteria that can cause the egg to bloom. If you live in an area with extreme temperature changes, consider keeping your coop in a shaded spot or using insulation to regulate the temperature.
Humidity levels also contribute to egg bloom. When the air is too dry, it can cause the cuticle to crack and become more susceptible to bacteria growth. On the other hand, if the air is too humid, it can lead to mold and mildew growth on the egg. Aim for a humidity level between 40-60% in your coop to maintain a healthy environment.
To mitigate the effects of physical factors on egg bloom, ensure that your coop is well-ventilated and maintained regularly. Regular cleaning and disinfecting will help reduce the risk of bacteria and mold growth. Additionally, consider using an egg washer or sanitizing solution to clean eggs before they’re collected. This can help remove dirt and debris that can contribute to egg bloom.
Nutritional Deficiencies
When it comes to egg bloom, many backyard chicken keepers might not be aware that nutritional deficiencies in their hens’ diets can play a significant role. A hen’s diet rich in essential nutrients like calcium, vitamin D3, and protein is crucial for producing clean, healthy eggs. However, if her diet lacks these vital components, it can lead to egg bloom.
Research suggests that hens fed with low-quality feed or those that don’t receive adequate nutrients may experience stress, which can cause their bodies to excrete excess calcium through their urine. This excess calcium then gets deposited onto the eggshell as a bloom.
One study found that laying hens on a diet supplemented with vitamin D3 and omega-3 fatty acids had significantly reduced levels of egg bloom compared to those on an unsupplemented diet. As such, it’s essential for chicken keepers to provide their hens with balanced feed rich in calcium, vitamins, and minerals.
To avoid nutritional deficiencies that can lead to egg bloom, consider the following:
* Provide your hens with a high-quality layer feed formulated specifically for laying birds.
* Supplement their diet with fresh fruits and vegetables that are rich in essential nutrients like vitamin D3 and omega-3 fatty acids.
* Ensure access to clean water at all times to prevent dehydration.
Symptoms of Egg Bloom
If you’ve noticed a white, brown, or even pinkish coating on your eggs, it’s essential to understand what causes these discolorations and how they affect the egg’s quality. In this section, we’ll explore the common symptoms of egg bloom in more detail.
Visual Cues
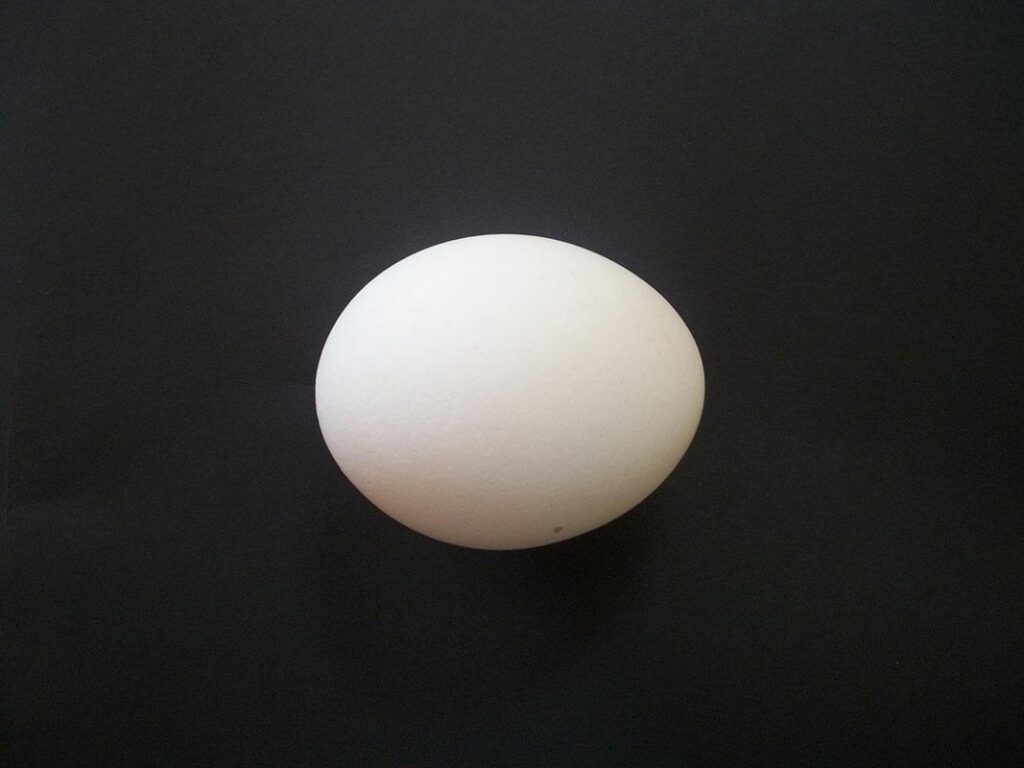
When you notice an egg is blooming, there are several visual cues that can indicate its condition. The most common sign of blooming is discoloration on the shell. This can manifest as a dull or waxy appearance, often with a pale yellow or brown tint. In some cases, the discoloration may be more pronounced and appear as a streak or patch on the eggshell.
Other visual signs of blooming include white or grayish streaks that radiate from the air cell at one end of the egg. These streaks can vary in intensity and sometimes resemble fine cracks in the shell. You may also observe small, rounded patches or blotches on the surface of the egg, typically with a pale blue or pink tint.
To identify these visual signs, gently turn the egg over a clean, flat surface and inspect it from different angles. Be aware that some eggs naturally display minor imperfections, such as tiny bumps or scratches, but these are usually not indicative of blooming.
Texture and Odor Changes
When you notice an egg has bloomed, it’s not just the appearance that changes – the texture and odor may also be affected. A bloomed egg can have a rough, dry, or slimy surface, which is different from the smooth, glossy finish of a normal egg.
The texture change is usually most noticeable on the large end of the egg, where the bloom is typically more pronounced. If you gently touch the surface, you might find that it feels tacky or sticky to the touch.
As for the odor, a bloomed egg can sometimes give off a strong, sour smell, which may be unpleasant. This is due to the buildup of bacteria and other microorganisms on the egg’s surface.
It’s essential to note that not all bloomed eggs will have these changes, but they can be a sign of an issue with the egg’s cleanliness or handling. If you find yourself with a bloomed egg that has a strong odor or unusual texture, it’s best to err on the side of caution and discard it – even if it looks like it might still be edible.
This is especially true if you’re planning to use the eggs for cooking, as consuming them could pose food safety risks.
Impact on Egg Quality
Egg bloom can have significant consequences on the internal quality of eggs. Research suggests that bacteria from the external surface can seep into the egg through the pores at the large end, potentially contaminating the contents. This is particularly concerning for consumers who prefer raw or lightly cooked eggs.
When an egg has developed a bloom, it’s not just a cosmetic issue – it can also be a sign of potential health risks. For instance, if bacteria from the environment enter the egg through the pores, they may cause foodborne illnesses like Salmonella or E. coli. These contaminants can survive even pasteurization, making it crucial to handle and store eggs with care.
To minimize this risk, always wash your hands before handling eggs, and gently scrub any dirty areas with a soft brush under cold running water. For home cleaners, a 1:10 dilution of white vinegar in water is an effective and gentle disinfectant that can help remove the bloom without affecting egg quality. Regularly cleaning and storing eggs properly can also prevent bacterial contamination.
Prevention Methods
To prevent eggs from blooming, we’ll explore simple and effective methods that don’t involve harsh chemicals, making it easier to keep your eggs clean and healthy.
Hygiene and Sanitation
Maintaining cleanliness within the coop is crucial to preventing bacterial contamination and promoting healthy egg production. Regular disinfection of all surfaces, including nesting boxes, roosts, and feeders, should be a top priority. To do this effectively, start by removing soiled bedding and replacing it with fresh material. This simple step can make a significant impact on coop hygiene.
It’s also essential to establish a waste management system within the coop. Remove droppings and manure daily to prevent the buildup of bacteria and parasites. Consider using a poop scoop or shovel to collect waste, and dispose of it properly in a designated area outside the coop. Disinfect any surfaces that came into contact with waste to prevent re-contamination.
In addition to regular cleaning, schedule deeper cleanings every few months to thoroughly disinfect all surfaces. Use a solution of 1 part white vinegar to 9 parts water, or a commercial disinfectant specifically labeled for use on poultry coops. Always follow the manufacturer’s instructions and take necessary precautions to avoid exposure to harsh chemicals.
Dietary Adjustments
Ensuring that your hens’ diets are well-balanced and nutritious is crucial to preventing nutritional deficiencies that can lead to egg bloom. A diet rich in essential nutrients will promote overall health and well-being, which in turn will result in cleaner, healthier eggs.
To start, provide your hens with a high-quality layer feed as the main staple of their diet. This should account for at least 50-60% of their daily nutritional intake. However, also make sure to supplement with fresh fruits and vegetables to ensure they receive adequate vitamins and minerals. Leafy greens such as kale, spinach, and collard greens are excellent choices.
Additionally, consider adding calcium supplements to prevent weakened eggshells. A diet lacking in calcium can cause eggs to become brittle or even crack, making them more susceptible to bloom. Aim for a mix of 70-80% layer feed with 20-30% fresh produce to maintain optimal health and reduce the risk of nutritional deficiencies that lead to egg bloom.
By providing a balanced and nutrient-rich diet, you’ll be well on your way to preventing those unsightly eggs from forming in the first place.
Environmental Control
Managing environmental factors is crucial to preventing egg bloom. Temperature regulation and humidity control are two essential aspects of maintaining an ideal environment for clean eggs.
Temperature plays a significant role in the formation of egg blooms. Eggs left at room temperature tend to develop white, sticky patches faster than those stored in a cooler place. To regulate temperature, keep the storage area between 40°F (4°C) and 45°F (7°C). You can achieve this by storing eggs in a refrigerator or using an insulated container with ice packs.
Humidity control is equally important. High humidity allows bacteria to thrive on eggshells, causing them to stick together and form white spots. To maintain optimal humidity levels, store eggs in their original carton or use a breathable bag. You can also place the carton or bag in a sealed plastic container with holes for airflow.
Keep your storage area clean and dry to prevent moisture buildup. Regularly inspect the area for signs of mold or mildew, and address any issues promptly. By controlling temperature and humidity levels, you’ll be well on your way to preventing egg bloom and keeping your eggs fresh for longer.
Treatment Options
Now that you’ve identified the cause of the bloom, let’s discuss the various treatment options available to safely and effectively clean your eggs. We’ll cover each approach in detail.
Removing Affected Eggs
When you’ve identified an affected egg, it’s essential to remove it from the coop immediately to prevent further contamination. This is crucial for maintaining a healthy flock and preventing the spread of bacteria. To do this safely, make sure to wear gloves or protective clothing to avoid cross-contamination.
First, carefully pick up the bloomed egg with your gloved hand, taking care not to touch any surfaces that may come into contact with other eggs. If the bloom is particularly stubborn, you can use a soft-bristled brush to gently sweep away the affected area. Be cautious not to scratch the eggshell in the process.
Once removed from the coop, dispose of the bloomed egg in a sealed container or bag to prevent any remaining bacteria from escaping. It’s also essential to thoroughly clean and disinfect the surfaces you came into contact with during removal, including your gloves and any equipment used. This will help prevent the spread of contamination and ensure a safe environment for the rest of your flock.
Dietary Supplements
If you’re concerned about the bloom on your chicken eggs and want to explore alternative solutions, consider incorporating dietary supplements into their diet. Certain nutrients have been shown to improve egg quality and potentially reduce the risk of bloom.
Vitamins A and E are essential for maintaining healthy skin and membranes, including those found in eggshell membranes. Adding these vitamins to your chickens’ feed can help strengthen their eggshells, making them less prone to cracking and blooming. Another key nutrient is Omega-3 fatty acids, which promote overall health and reduce inflammation within the body.
Some popular dietary supplements for improving egg quality include probiotics, prebiotics, and essential minerals like zinc and selenium. These supplements work by supporting gut health and reducing stress in your chickens, leading to healthier eggs.
To incorporate these supplements into your flock’s diet, start by adding small amounts (about 1-2% of their total feed) and monitor their response over several weeks. You can also try mixing different types of supplements together for a more comprehensive approach. Always research the specific needs of your chickens and consult with a veterinarian before making any significant changes to their diet.
Antibacterial Measures
When it comes to preventing bacterial contamination and promoting clean eggs, antibacterial measures can be an effective addition to your coop’s cleaning routine. There are various products on the market that claim to inhibit bacterial growth, but their effectiveness and potential risks vary.
Some common antibacterial agents used in coops include bleach solutions, peracetic acid, and quaternary ammonium compounds (quats). While these products can be effective against many types of bacteria, it’s essential to use them safely. Always follow the manufacturer’s instructions for dilution rates and application times to avoid harming your chickens or creating toxic fumes.
For example, a 1:10 ratio bleach solution has been shown to reduce E. coli populations on surfaces by up to 90%. However, prolonged exposure to strong bleach solutions can damage your coop’s surfaces and harm your birds’ respiratory systems. Always spot test any new product before applying it to the entire coop.
If you do decide to use antibacterial products, make sure to combine them with good hygiene practices, such as regular cleaning of feeding and drinking areas, removal of debris, and proper ventilation in the coop.
Best Practices for Egg Cleanliness
To ensure the cleanliness and quality of your eggs, it’s essential to follow proper handling and storage procedures from collection to consumption. Let’s dive into the best practices for egg cleanliness right here.
Washing Eggs
When washing eggs to clean the bloom, it’s essential to do so safely and correctly. Washing eggs can be a delicate process, as the shell is fragile and the internal quality of the egg must remain intact. To start, you’ll want to wash your hands thoroughly before handling the eggs.
To prevent damage to the eggs, use lukewarm water (not hot or cold) and a mild detergent specifically designed for washing eggs. Avoid using soap, bleach, or other harsh chemicals that can strip away the natural oils in the eggshell. Gently swish the eggs around in the soapy water, then rinse them thoroughly with clean, cool water.
Some important tips to keep in mind: always wash eggs just before storing them in the fridge; avoid washing eggs if they’re not dirty, as excess moisture can lead to mold growth; and use a soft-bristled brush or sponge to gently remove any stubborn dirt or debris.
Drying Eggs
Properly drying eggs after washing is an essential step to prevent moisture-related issues such as mold growth and bacterial contamination. To dry eggs effectively, start by gently patting them with a clean towel to remove excess water. You can also use a microfiber cloth or paper towels for this purpose.
Next, place the eggs in a single layer on a wire rack or tray, allowing air to circulate around each egg. This will help speed up the drying process and prevent moisture from accumulating between the eggs. Avoid stacking the eggs, as this can create a humid environment that fosters bacterial growth.
For faster drying, you can also place the eggs in a low-temperature oven (150°F – 200°F) for 30 minutes to an hour. This method is especially useful if you’re dealing with a large quantity of eggs. Alternatively, you can use a food dehydrator or a fan on a low setting to gently circulate air around the eggs.
Remember to check the eggs regularly during the drying process to ensure they don’t become too dry or develop any visible imperfections.
Storage and Handling
Proper storage and handling of eggs are crucial to maintaining their cleanliness and preventing bloom. When it comes to storing eggs, temperature control is key. Eggs should be stored in a cool, dry place with consistent temperatures between 39°F and 45°F (4°C and 7°C). Avoid storing eggs near direct sunlight or heat sources like ovens, radiators, or heating vents.
To prevent moisture buildup, store eggs in a well-ventilated area or use a breathable container. You can also wrap each egg individually in paper towels to absorb excess moisture. If you’re storing large quantities of eggs, consider investing in an egg storage carton specifically designed for this purpose. These containers allow for airflow and keep eggs separate to prevent breakage.
When handling eggs, always wash your hands before and after touching them to maintain cleanliness. Gently pick up eggs by their cleanest surface, usually the equator or the flat side, to avoid cracking them. If you’re transporting eggs, use a protective case or container to cushion them from bumps and jolts. Regularly checking on stored eggs can also help detect any potential issues before they become serious problems.
Frequently Asked Questions
How can I prevent bacterial contamination from causing egg bloom?
Regularly cleaning and disinfecting the coop, feeders, and waterers is crucial to preventing bacterial contamination that can lead to egg bloom. Ensure proper ventilation, keep surfaces dry, and maintain a clean environment for your hens.
What if some of my eggs still develop a thick bloom despite following prevention methods?
If you’ve taken all necessary precautions but still encounter eggs with significant bloom, it’s likely due to an underlying issue such as poor hygiene or inadequate egg handling. Inspect your washing techniques, drying process, and storage conditions for potential improvements.
Can I use hot water to remove the bloom from my eggs?
Yes, using warm or hot water is generally safe for removing the bloom, but make sure not to submerge the eggs in cold water afterwards, as this can cause them to absorb moisture. Always dry your eggs thoroughly after cleaning.
How often should I change my egg storage environment to prevent bacterial growth?
Regularly check and maintain a consistent temperature (around 40°F/4°C) for stored eggs, ideally every week or two. Avoid overcrowding the storage area, as this can increase the risk of bacterial contamination and subsequent egg bloom development.
Can you recommend any natural antibacterial agents for cleaning and disinfecting my coop?
Yes, consider using vinegar-based solutions (1 part white vinegar to 9 parts water) or essential oils like tea tree oil, which have antimicrobial properties. Always mix these agents with clean water before applying them to your coop surfaces to ensure effectiveness and safety.