
Cleaning your backyard chickens‘ eggs can be a bit tricky, but don’t worry, we’ve got you covered. It’s essential to wash and sanitize chicken eggs properly to ensure food safety and prevent contamination. If not done correctly, dirty eggs can pose serious health risks, making it crucial for every homesteader and egg enthusiast to know the right techniques.
In this article, we’ll guide you through the process of washing and sanitizing your fresh eggs, including various methods and products you can use. We’ll also cover storage tips to keep your eggs fresh for a longer period. By the end of this comprehensive guide, you’ll be able to safely collect, clean, and store your chicken eggs with confidence.
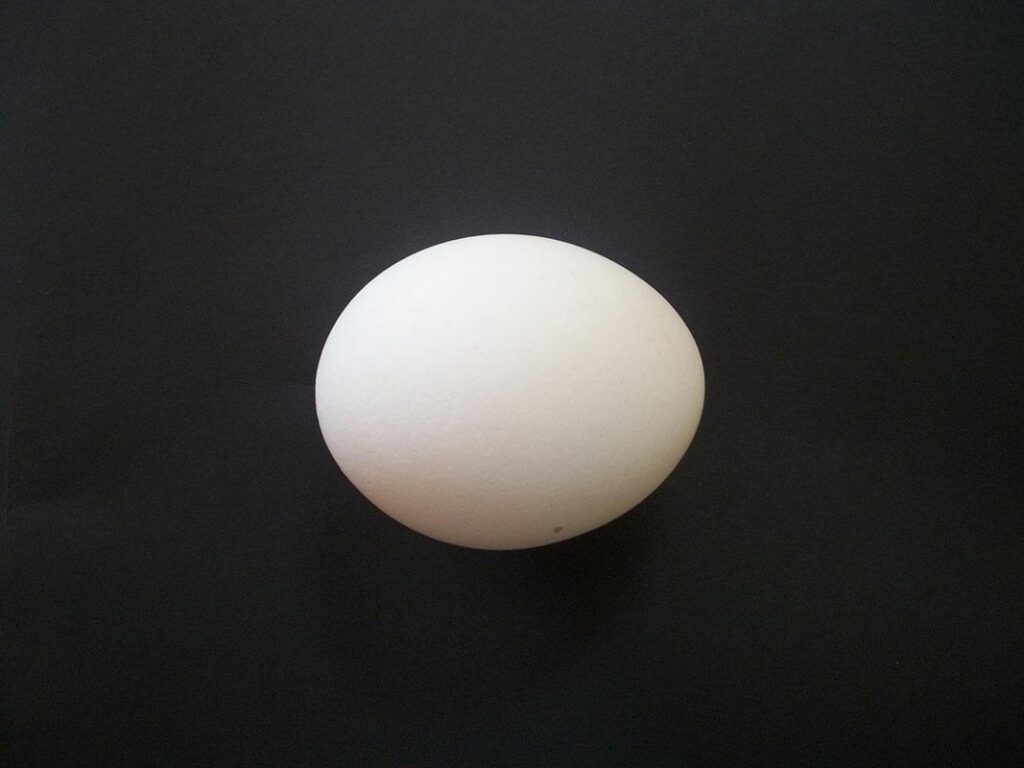
Understanding Egg Cleanliness
When it comes to cleaning chicken eggs, understanding what makes them dirty and how to identify potential contaminants is crucial for safe handling. This section will break down the key factors affecting egg cleanliness.
The Importance of Clean Eggs
Clean eggs are not just a matter of aesthetics; they’re crucial for food safety and egg quality. When chicken eggs come into contact with dirt, bacteria, and other contaminants during collection, transportation, or storage, the risk of Salmonella contamination increases. A single dirty egg can lead to serious health issues if consumed raw or undercooked.
According to the Centers for Disease Control and Prevention (CDC), over 1 million people in the United States are affected by foodborne illnesses each year, with many cases linked to contaminated eggs. This is why it’s essential to clean chicken eggs thoroughly before storing them in the refrigerator.
Cleaning your eggs can also affect their quality. Dirt and bacteria can seep into the egg through cracks or pores on its surface, causing discoloration, odor, and potentially affecting the taste of the egg when cooked. Regular cleaning not only extends the shelf life but also enhances the overall appearance and culinary experience of your eggs. By prioritizing cleanliness, you’re ensuring a safer and higher-quality product for yourself and your family.
Factors Affecting Egg Cleanliness
Egg cleanliness can be influenced by various factors that are beyond the farmer’s control. One significant factor is farm hygiene, which includes the living conditions of chickens and the facilities where they lay eggs. Chickens that live in unsanitary environments may transfer dirt and bacteria to their eggs, compromising their cleanliness.
Storage conditions also play a crucial role in maintaining egg cleanliness. If eggs are stored at room temperature for too long or exposed to direct sunlight, their quality can degrade rapidly. This is because the protective coating on the egg, known as the cuticle or “bloom,” starts to break down over time, allowing bacteria to penetrate.
Handling practices also significantly impact egg cleanliness. When handling eggs, it’s essential to wash your hands thoroughly before and after touching them to prevent cross-contamination. Similarly, storing eggs in a container that allows air to circulate around each egg can help keep them clean by preventing moisture buildup.
Pre-Cleaning Preparation
Before you start cleaning those eggs, make sure your workspace is set up for success: gather all necessary supplies and have a clean surface ready to go. This ensures an efficient cleaning process from the get-go.
Inspecting the Eggs
When it comes to cleaning chicken eggs, preparation is key. Before you even think about scrubbing away at those dirty eggs, take a moment to inspect them for any visible dirt or damage. This simple step can make all the difference in the cleanliness and quality of your final product.
Hold each egg up to the light and examine it carefully. Check for any cracks or breaks, as these can provide an entry point for bacteria and other contaminants. Look for any visible stains or discolorations, which may indicate that the egg has been exposed to something like manure or dirt during collection. If you notice any signs of damage or staining, set those eggs aside and don’t bother cleaning them – it’s better to err on the side of caution when it comes to food safety.
As a general rule, it’s best to clean eggs that are free from visible defects first, as these will be easier to clean.
Removing Packaging and Accessories
Before you can clean and sanitize your chicken eggs, it’s essential to remove any packaging materials and accessories that may be attached. This includes plastic wrappers, paper cartons, and even the wax seal that some farmers use to keep the eggs fresh.
To start, gently peel away the plastic wrapper or paper carton from the egg. Be careful not to apply too much pressure, as this can damage the eggshell. If you’re dealing with a lot of eggs, consider setting up a assembly line-style process where one person peels off the packaging while another person collects the clean eggs.
Next, check if any eggs have a wax seal on them. This is usually a small waxy plug at the pointed end of the egg. Use your fingers or a blunt instrument to carefully pry out the wax seal, making sure not to crack the eggshell in the process. Once you’ve removed all packaging materials and accessories, the eggs are ready for cleaning and sanitizing. Remember to work with clean hands and tools to avoid contaminating the eggs further.
Cleaning Methods
When it comes to cleaning chicken eggs, different methods yield varying results. In this next part of our guide, we’ll explore the most effective and gentle ways to clean your fresh-laid eggs.
Washing by Hand
When washing eggs by hand, it’s essential to take a gentle approach to avoid damaging the eggshell. Start by filling a clean sink with lukewarm water – not hot or cold, as this can cause the eggs to crack. Next, add a mild detergent specifically designed for cleaning delicate items. Avoid using harsh chemicals or abrasive cleaners, as these can strip away the natural oils from the eggshell.
Gently place the eggs into the soapy water, making sure they’re fully submerged. Use your hands to gently scrub each egg, working in a circular motion to remove any dirt or debris. Be careful not to apply too much pressure, which can cause the eggs to crack.
Once you’ve cleaned all the eggs, rinse them thoroughly with lukewarm water to remove any remaining soap residue. This is an important step, as any soap left behind can affect the egg’s quality and shelf life. To dry the eggs, gently pat them with a clean towel or let them air-dry on their side.
Soaking Eggs
Soaking eggs in a cleaning solution is an effective way to remove dirt and stains, making them look cleaner and more appealing for consumption. The benefits of soaking eggs are numerous; it helps loosen dirt particles, removes stubborn stains, and sanitizes the eggshell.
To soak eggs, start by filling a large container or bowl with enough water to cover the eggs completely. Add 1-2 tablespoons of white vinegar or lemon juice per quart of water for every dozen eggs. The acidity in these ingredients will help break down dirt and stains. Submerge the eggs gently into the solution, making sure they are fully covered.
Allow the eggs to soak for about 10-15 minutes. You can check on them periodically to see if any dirt or debris is coming off the surface. Once the soaking time has passed, remove the eggs from the solution with a slotted spoon and rinse them under cold running water to remove any excess cleaning solution. This method is gentle enough not to damage the eggshell while effectively removing unwanted dirt and stains.
Using Egg Cleaning Products
If you’re looking for an easier and more efficient way to clean chicken eggs, using commercial egg cleaning products can be a great option. These products are specifically designed to remove dirt, bacteria, and other contaminants from the eggshell without damaging it.
There are several types of commercial egg cleaning products available on the market, including sprays, powders, and wipes. Some popular options include Egg-Shine, Egg-Clean, and OxiClean. When using these products, be sure to follow the instructions carefully and take necessary safety precautions.
To use a commercial egg cleaning product effectively, start by washing your hands thoroughly before handling the eggs. Then, gently spray or apply the product to the eggshell, making sure to cover all surfaces evenly. Let it sit for the recommended amount of time, usually 30 seconds to 1 minute, before rinsing the eggs with cool water. This will help loosen and remove dirt and bacteria, leaving your eggs clean and sanitized.
When selecting a commercial egg cleaning product, look for one that is non-toxic, biodegradable, and free from harsh chemicals. Also, be sure to check the product’s effectiveness in removing dirt and bacteria before using it on your eggs.
Sanitizing and Drying
Now that you’ve collected your eggs, it’s time to give them a thorough cleaning. Next, we’ll cover the essential steps for sanitizing and drying your freshly cleaned eggs.
Rinsing and Sanitizing
Rinsing and sanitizing are crucial steps after cleaning chicken eggs to prevent bacterial contamination. When you wash eggs, dirt and bacteria can become embedded into the pores of the shell, which can then be introduced into the egg’s interior during storage or cooking. To avoid this risk, it’s essential to rinse your cleaned eggs thoroughly under cold running water.
Rinsing removes any remaining debris from washing and helps prevent bacterial accumulation on the eggshell. Use a clean sink with mild soap and cold water for rinsing. Avoid using hot water, as it can cause the pores in the shell to open up, allowing bacteria to penetrate deeper. After rinsing, use a sanitizing solution or vinegar to further reduce the risk of contamination.
Sanitizing solutions like bleach diluted with water are effective at killing bacteria on eggshells. However, be cautious when using such chemicals and always rinse thoroughly afterward to remove any residue. Alternatively, you can soak cleaned eggs in a mixture of 1 tablespoon of white vinegar per quart of water for up to an hour before refrigeration or storage. This gentle approach helps maintain egg cleanliness without compromising their quality.
Drying Eggs Properly
Drying eggs properly is an essential step in the egg cleaning process. After washing and sanitizing the eggs, it’s crucial to dry them thoroughly to prevent bacterial growth and contamination. Start by gently patting the eggs with a clean towel or cloth to remove excess moisture. This will help prevent water spots from forming on the eggshells.
For more efficient drying, consider using a drying rack specifically designed for eggs. These racks have small wells or trays that allow air to circulate around each egg, promoting faster evaporation of moisture. Place the eggs on the rack and let them air dry for at least 30 minutes to an hour before handling. Avoid placing the eggs near direct sunlight or heat sources, as this can cause uneven drying or even cook the eggs.
Remember to clean and sanitize your towels or cloth after each use to prevent cross-contamination of bacteria. By following these simple steps, you’ll be able to dry your cleaned chicken eggs properly, reducing the risk of spoilage and ensuring they remain safe for consumption.
Storage and Handling
When it comes to storing clean chicken eggs, proper handling is crucial to prevent contamination and keep them fresh for longer. Here, we’ll cover essential tips for storing and handling your cleaned eggs safely.
Storing Cleaned Eggs
When storing cleaned eggs in the refrigerator, it’s essential to maintain their cleanliness and quality. Place them in a single layer on the middle or top shelf of the fridge, as close to 40°F (4°C) as possible. Avoid stacking them or placing them near strong-smelling foods, which can transfer odors to the eggs.
Cleaned eggs should be stored with the pointed end down to prevent moisture from seeping into the egg through the small opening at the large end. This helps keep bacteria from entering the egg and extending its shelf life. Make sure the eggs are not touching each other or any other food items, as this can lead to cross-contamination.
Keep the cleaned eggs away from direct sunlight and heat sources, such as ovens or radiators. Also, avoid storing them near doors or in areas prone to temperature fluctuations, which can affect their quality and safety. By following these storage guidelines, you can enjoy clean, fresh eggs for a longer period and maintain their excellent taste and texture.
Handling Cleaned Eggs Safely
After thoroughly cleaning your chicken eggs, it’s essential to handle them safely to prevent re-contamination. This is a crucial step that many people often overlook, but it’s just as important as the cleaning process itself.
To start, make sure you have a clean and sanitized surface to work on when handling cleaned eggs. Wash your hands thoroughly with soap and warm water before touching the eggs. Any bacteria or dirt on your skin can easily transfer back onto the eggshell, defeating the purpose of cleaning them in the first place.
When handling cleaned eggs, it’s best to use gloves or a clean towel to prevent oils from your skin from getting on the eggs. This will also help prevent any potential bacterial transfer. If you’re planning to store the eggs for an extended period, make sure they are stored in their original carton or a similar protective container to keep them safe and clean.
Remember, even though the eggs have been cleaned, they can still be damaged by rough handling. Handle them gently, especially around the air cell (the small indentation at the large end of the egg). Avoid stacking them too high, as this can cause breakage.
Common Cleaning Mistakes to Avoid
When it comes to cleaning chicken eggs, many people make mistakes that can compromise their freshness and quality. Let’s take a closer look at common errors to avoid in the egg cleaning process.
Over-Cleaning or Under-Cleaning
When it comes to cleaning chicken eggs, many people make one of two common mistakes: over-cleaning or under-cleaning. Over-washing can strip the egg of its natural protective coating, making it more susceptible to contamination and spoilage. This is especially true if you’re using harsh soap or hot water, which can break down the delicate membrane that surrounds the egg.
On the other hand, under-cleaning can leave behind dirt, bacteria, and other contaminants that can harm your health when consumed. A dirty egg can also attract pests and create an unpleasant odor in your fridge.
To get it just right, start by washing the egg gently with cold water to remove any visible debris. Then, use a soft-bristled brush or a clean cloth to wipe down the eggshell, paying extra attention to any areas with visible stains or cracks. Finally, dry the egg thoroughly with a clean towel before storing it in your fridge. This simple routine will help you avoid common cleaning mistakes and keep your eggs safe to eat.
Using the Wrong Cleaning Methods
When cleaning chicken eggs, it’s essential to avoid using methods that can damage the shell or compromise food safety. Using abrasive materials like bleach, harsh soap, or scrubbers with rough surfaces can scratch the eggshell, making it more susceptible to bacterial contamination.
For instance, if you’re using a sponge to clean the egg, make sure it’s not too coarse, as it can leave scratches behind. Similarly, avoid using abrasive cleaners like oven cleaner or scouring powder, which can strip away the protective coating on the eggshell and lead to moisture absorption, making the egg more prone to spoilage.
Some common cleaning methods that are better avoided include using hot water, which can cause the eggshell to become brittle, leading to cracks. Another mistake is using a dishwasher’s high heat cycle, as it can also cause the eggshell to crack or become discolored. Always opt for gentle, lukewarm water and a soft-bristled brush or cloth when cleaning chicken eggs.
Conclusion and Tips for Future Reference
Now that you’ve learned how to clean chicken eggs, let’s wrap up our guide with some final tips and best practices to keep in mind for future egg cleaning adventures.
Recap of Key Takeaways
Now that you’ve learned the ins and outs of cleaning chicken eggs, let’s recap the essential steps and best practices to ensure you’re collecting clean, healthy eggs from your flock. To start, always collect eggs gently from the nesting box to prevent cracks and breakage. Next, wash your hands thoroughly before handling eggs, then wipe down the carton or storage container with a mild detergent to prevent cross-contamination.
When it comes to cleaning the eggs themselves, make sure to use clean water that’s at room temperature – never cold or hot. Submerge the egg in a bowl of water and gently rotate it to loosen any dirt or debris. Next, scrub the egg using a soft-bristled brush, working from top to bottom. For stubborn stains or dirt, you can mix 1 tablespoon of white vinegar with 2 cups of water for an effective cleaning solution.
When storing eggs, always keep them in their carton and refrigerate at 40°F (4°C) or below to slow down bacterial growth. By following these simple steps and best practices, you’ll be able to collect clean, healthy eggs from your backyard flock with confidence.
Additional Resources and Recommendations
For those looking to take their egg-cleaning skills to the next level, there are several resources and recommendations worth exploring. The American Egg Board offers a wealth of information on proper egg handling and storage techniques, including guidelines for cleaning eggs safely.
You may also want to consult “The Backyard Chicken Keeper” by Jennifer Megyesi, which provides in-depth guidance on chicken-keeping practices, including egg collection and cleaning. Additionally, the National Poultry Improvement Plan (NPIP) website is a valuable resource for learning about best practices in poultry production, including egg safety.
To further enhance your egg-cleaning skills, consider investing in an egg washer or sanitizing solution specifically designed for use with backyard eggs. These tools can help reduce bacteria and other contaminants on the surface of the egg. By incorporating these resources into your routine, you’ll be well on your way to producing clean, healthy eggs from your backyard flock.
Frequently Asked Questions
Can I reuse egg cleaning products or solutions for future cleanings?
Reusing egg cleaning products or solutions is generally not recommended, as bacteria can accumulate on the solution over time. It’s best to use fresh solutions each time you clean your eggs to ensure optimal sanitization.
What if I accidentally wash an egg with soap or other harsh chemicals? Is it still safe to eat?
If you’ve washed an egg with soap or harsh chemicals, it’s essential to sanitize and rinse the egg thoroughly to remove any potential contaminants. However, it’s best to err on the side of caution and discard the egg to avoid any health risks.
How often should I clean and disinfect my egg collection area to prevent contamination?
Regular cleaning and disinfection of your egg collection area is crucial to preventing contamination. Aim to clean the area at least once a week, paying attention to surfaces, equipment, and storage areas that come into contact with eggs.
Can I use hot water for washing eggs, or should it be cold?
Hot water can help loosen dirt and debris from the eggshell, but it’s essential to avoid scalding the eggs. Use warm or cool water instead of hot water to prevent damage to the eggshell and potential contamination.
How do I know if an egg has been properly sanitized and is safe for consumption?
After sanitizing your eggs, inspect them for any visible signs of moisture or residue. If the eggs appear dry and free from contaminants, they’re likely safe for consumption. However, always err on the side of caution and check local regulations regarding egg handling and storage.