
Hatching quail eggs at home can be a rewarding and fascinating experience for backyard chicken keepers. Not only do you get to watch your eggs crack open to reveal adorable chicks, but it also allows you to learn about these tiny birds’ unique needs and behaviors. However, incubating quail eggs requires careful attention to detail and a thorough understanding of their specific requirements.
In this comprehensive guide, we’ll walk you through the process of hatching quail eggs at home, covering everything from choosing the right breed to setting up an ideal incubation environment. We’ll also share expert tips on maintaining optimal temperatures, humidity levels, and air quality, as well as common health issues that may arise during the hatching process. Whether you’re a seasoned breeder or just starting out, this guide aims to equip you with the knowledge necessary for successful quail egg hatching at home.
Choosing the Right Quail Breed
When it comes to hatching quail eggs at home, choosing the right breed is crucial for your success and experience. Let’s explore some popular breeds that are ideal for beginners.
Factors to Consider When Selecting a Breed
When choosing a quail breed for hatching eggs at home, there are several key characteristics to consider. First and foremost, think about egg production. Some breeds, like the Japanese Coturnix, are prolific layers and can produce up to 300 large white eggs per year. Others, such as the Button Quail, lay smaller numbers of eggs but are often more hardy and adaptable.
Temperament is also an essential consideration. If you have young children or other pets in the household, a gentle and calm breed may be a better fit. The California Quail, for example, is known for its friendly and docile nature, making it a great choice for families.
Hardiness is another critical factor to consider. Some breeds are more resistant to disease and can thrive in less-than-ideal conditions. The Chinese Painted Quail, for instance, is highly resistant to frost and can tolerate cooler temperatures.
Ultimately, the right breed will depend on your specific needs and circumstances. Be sure to research each breed thoroughly and choose one that meets your requirements for egg production, temperament, and hardiness.
Popular Breeds for Backyard Flocks
When it comes to hatching quail eggs at home, choosing the right breed is crucial for success. Among the many popular breeds, some stand out as ideal for backyard flocks. The Japanese Coturnix, Button Quails, and California Quails are three such breeds that have gained popularity among quail enthusiasts.
The Japanese Coturnix is one of the most common breeds kept in home flocks. Known for their high fertility rate and prolific egg-laying, they’re perfect for beginners. A single hen can lay up to 200 eggs per year, making them an excellent choice for those who want a steady supply of quail eggs.
Button Quails are another favorite among backyard farmers. Their small size makes them ideal for small spaces, and their calm demeanor makes them easy to handle. They’re also relatively low-maintenance, requiring less food and care compared to other breeds.
California Quails are known for their unique appearance and friendly nature. With a little more maintenance than Button Quails, they offer a higher egg production rate, making them suitable for those who want a consistent supply of eggs.
Each breed has its unique characteristics, but all three make great choices for backyard flocks. When selecting a breed, consider your space, experience level, and the type of care you can provide. This will help ensure that your quail flock thrives under your care.
Setting Up a Hatching Environment
To successfully hatch quail eggs at home, you’ll need to create a suitable environment that mimics their natural habitat. This involves setting up a specialized incubator and controlling temperature, humidity, and light levels carefully.
Creating a Safe and Healthy Brooder
Providing a safe and healthy environment for incubating quail eggs is crucial for successful hatching. A brooder that maintains optimal conditions will ensure the health and well-being of your chicks from the moment they pip (break out of their shells). Let’s start with ventilation: it’s essential to provide adequate airflow in your brooder, as ammonia buildup can be toxic to young quail. You can achieve this by placing the incubator or brooder in a well-ventilated area or adding a fan to circulate the air.
Next, temperature control is vital. Quail eggs require a consistent temperature between 99°F and 100°F (37°C to 38°C) during the first 18 days of incubation. Invest in an accurate thermometer and follow the manufacturer’s guidelines for maintaining this temperature range. Humidity is also critical, especially during the first week. Maintain a humidity level of around 50-60% to prevent dehydration.
Regularly inspect your brooder for any signs of stress or discomfort, such as excessive panting, lethargy, or unhygienic conditions. Keep your quail eggs and chicks clean by gently misting them with water daily and changing the bedding material regularly. By paying attention to these essential factors, you’ll create a safe and healthy brooding environment for your hatching quail eggs.
Essential Equipment for Successful Hatching
To successfully hatch quail eggs at home, you’ll need to set up an environment that mimics the conditions found in a natural nesting site. This includes having the right equipment on hand. One of the essential pieces of equipment is an incubator or brooder. An incubator provides a consistent temperature and humidity level necessary for successful hatching. If you’re short on space, a smaller incubator can be just as effective.
In addition to an incubator or brooder, you’ll also need a heat source. This can be as simple as a lamp or ceramic heat emitter. It’s essential to have a thermometer and hygrometer nearby to monitor the temperature and humidity levels in your hatching environment.
You should also have food and water supplies on hand for your newly hatched quail chicks. A brooder with adequate ventilation will help keep your chicks healthy and happy.
Preparing Quail Eggs for Incubation
Before you can start incubating your quail eggs, it’s essential to prepare them properly, which involves a few simple steps that ensure fertility and viability. Let’s get started on this crucial process together!
Selecting Fresh and Fertile Eggs
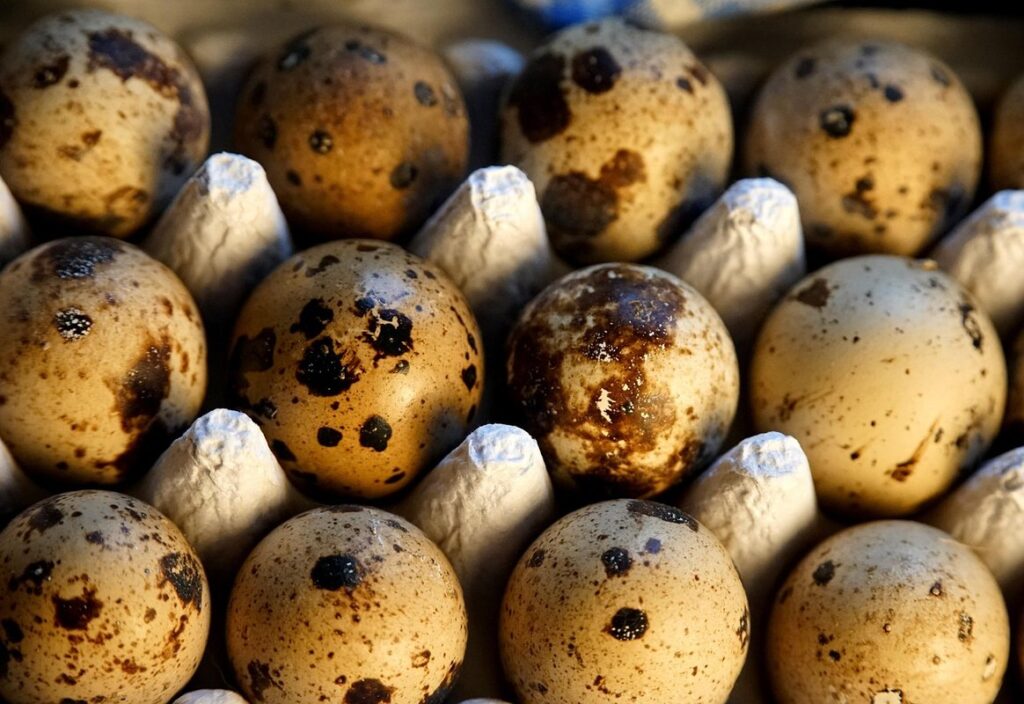
When selecting quail eggs for incubation, it’s crucial to choose fresh and fertile eggs. Freshness is indicated by a clean, dry appearance with no cracks or soft spots. The eggshell should be firm and have a slight sheen to it.
As for fertility, look for eggs that are laid within the past 7-10 days. Younger eggs tend to have higher fertility rates. Check the egg’s contents by gently submerging the egg in water – fertile eggs will usually show signs of movement or an air sac at the large end.
Optimal age is around 5-6 days, as this provides ample time for hatching while minimizing the risk of embryonic death due to old age. It’s also essential to handle quail eggs gently and minimize exposure to temperature fluctuations, which can negatively impact fertility.
When purchasing quail eggs from a breeder or supplier, ask about their egg selection process to ensure you’re getting the freshest and most fertile options available.
Cleaning and Sanitizing Eggs
Cleaning and sanitizing quail eggs before incubation is crucial to prevent bacterial contamination. When collecting eggs from your quails, it’s essential to handle them gently to avoid cracking the shells. Start by washing your hands thoroughly with soap and warm water.
Next, collect the eggs in a clean container or tray to prevent cross-contamination. Gently rinse each egg under cold running water, making sure not to get any dirt or debris inside the egg through the small opening at the large end.
After rinsing, submerge the eggs in a solution of 1 tablespoon of unscented bleach per quart of water for 10-15 minutes. This will help sanitize the eggs and prevent bacterial contamination. Be sure to use a clean utensil to retrieve the eggs from the sanitizing solution.
Once sanitized, gently pat the eggs dry with a clean towel or paper towels to remove excess moisture. This step is crucial in preventing fungal growth during incubation. Now your quail eggs are ready for incubation and can be safely placed in an incubator to hatch.
Incubating Quail Eggs at Home
To successfully hatch quail eggs, you’ll need to incubate them in a controlled environment that mimics natural conditions. This requires attention to temperature and humidity levels.
Understanding Incubator Settings
When it comes to incubating quail eggs at home, setting up the right environment is crucial for successful hatching. One of the most critical aspects of this process is understanding and adjusting the incubator settings to meet the specific needs of quail eggs.
To start, it’s essential to set the temperature within a narrow range, between 99°F (37°C) and 100°F (38°C), with a slight deviation upwards for the first 24-48 hours. Humidity levels should also be maintained at around 50-60%, decreasing by about 5% every day after the eggs reach 12 days of incubation.
Turning is another vital aspect to consider when setting up your incubator. Quail eggs require frequent turning, ideally every hour or two, to prevent sticking and promote even development. Many modern incubators come equipped with automatic turners, but if you’re using a manual one, be sure to set reminders or use a timer to ensure consistent rotation.
When adjusting these settings, it’s also essential to keep in mind the specific stage of incubation your eggs are at. For instance, during the first week, temperatures should be slightly warmer than usual, around 100°F (38°C), and humidity levels can be higher, up to 70%. After that, you’ll need to make adjustments according to the guidelines mentioned above.
It’s also crucial to note that different incubator models may require slightly different settings. Always consult your user manual or manufacturer’s recommendations for specific guidance on setting up your device for optimal results.
Monitoring Egg Development and Health
Monitoring egg development and detecting potential health issues is crucial during incubation. As you wait for your quail eggs to hatch, it’s essential to keep a close eye on their progress. One way to do this is by candleing the eggs, which involves shining a bright light through the shell to observe the embryo’s development.
To candle an egg, gently crack the large end of the egg into a bowl or container, making sure not to break the yolk. Hold the egg up to a bright light source and look for specific signs of development. A healthy embryo will show a clear outline of its internal organs, including the heart, lungs, and intestines.
Monitor the eggs daily for any unusual patterns or symptoms that may indicate health issues. Keep an eye out for unusual odors, shell cracks, or soft spots on the eggshell. Regular candling can help you detect potential problems early on, allowing you to take corrective action and save as many eggs as possible. If you notice anything amiss, gently remove the affected eggs from the incubator and inspect them further before deciding what steps to take next.
By regularly monitoring your quail eggs’ development and health, you’ll be able to intervene promptly if any issues arise, ensuring a healthy hatch rate for your quail flock.
Caring for Newly Hatched Quails
Now that you’ve successfully hatched your quail eggs, it’s time to focus on their care and ensure they thrive in their new environment. This section will cover essential tips for raising healthy, happy quails from day one.
Providing Adequate Food and Water
Providing adequate food and water is crucial for newly hatched quails to grow and thrive. After hatching, these tiny birds are vulnerable and need a reliable source of nutrition to support their development. You can start by providing a starter feed specifically formulated for young quails. This type of feed should contain around 18-20% protein content to promote growth and health.
In addition to food, ensure that fresh water is always available to your hatchlings. A shallow dish or a waterer with wide-mouth openings will make it easy for them to drink without spilling too much water. Change the water frequently to prevent bacterial growth and keep the water fresh.
As quails grow, you can gradually introduce other feed types such as layer pellets or cracked corn. However, it’s essential not to overfeed your hatchlings, as this can lead to digestive problems and stunted growth. Provide a balanced diet by mixing the starter feed with small amounts of fresh fruits and vegetables.
Creating a Safe and Stimulating Environment
When it comes to raising young quails, providing them with a safe and stimulating environment is crucial for their growth and development. Ensure that their enclosure has adequate space for movement and exercise. A good rule of thumb is to provide at least 2-3 square feet of floor space per bird. This allows them to roam freely and engage in natural behaviors like pecking, scratching, and flying.
Proper lighting is also essential for young quails. Provide a photoperiod of 14 hours of light and 10 hours of darkness to simulate a natural day-night cycle. Avoid direct sunlight as it can cause overheating and stress. Ventilation is just as important; ensure that the enclosure has adequate airflow to prevent moisture buildup and reduce the risk of respiratory diseases.
To stimulate their minds, provide toys and objects for them to explore. Hang bell toys or attach ropes with small bells to keep them entertained. You can also place wooden dowels or sticks on the ground for them to peck at. Rotate these items regularly to maintain their interest and prevent boredom. By creating a safe and stimulating environment, you’ll help your young quails grow into healthy and happy birds.
Common Challenges and Troubleshooting
Don’t worry if things don’t go as planned – we’ll walk you through common issues that might arise when hatching quail eggs at home, along with some troubleshooting tips to get back on track.
Identifying and Addressing Health Issues
As you embark on hatching quail eggs at home, it’s essential to be aware of potential health issues that may arise during incubation or after hatching. Some common problems include embryo death due to bacterial contamination, fungal infections, and poor ventilation.
To address these issues, maintain a clean and sterile environment throughout the incubation process. Disinfect all equipment and surfaces regularly, and ensure proper air circulation within your incubator. Monitor the eggs for any signs of cracking or broken shells, which can lead to infection.
After hatching, be on the lookout for symptoms such as lethargy, labored breathing, or discolored feathers. These may indicate respiratory problems, nutritional deficiencies, or parasites. Provide a balanced diet and ensure access to fresh water at all times. Offer supplements like probiotics or crushed oyster shells to support digestive health.
Regularly inspect your quails for signs of stress or illness, such as loss of appetite or lethargy. Address any issues promptly by separating the affected bird from the flock and consulting with a veterinarian if necessary.
Tips for Successful Hatching and Rearing Quails
If you’ve successfully hatched quail eggs and are now raising your young birds, congratulations! This is often the most challenging part of the process, but with proper care and attention, you can help them thrive. One key factor to consider when rearing quails is nutrition.
Quails have different nutritional needs than chickens, so it’s essential to provide a balanced diet that meets their requirements. You’ll want to include a mix of grains, proteins, and vegetables in their feed. Supplementing with calcium and vitamin D3 is also crucial for strong bone growth and overall health.
Some best practices for feeding quails include:
* Providing fresh water at all times
* Offering a variety of foods to encourage foraging behavior
* Avoiding over-supplementation, as this can lead to an imbalanced diet
* Monitoring their weight and adjusting feed accordingly
A clean living environment is also crucial for healthy growth. Ensure that your coop is well-ventilated, dry, and free from drafts.
Regularly cleaning the coop, removing waste, and replacing bedding material will help prevent disease and keep your quails happy and healthy. With proper care and attention to nutrition and living conditions, you can raise strong and thriving quails.
Frequently Asked Questions
How often should I turn the eggs during incubation?
Turn the eggs 3-4 times a day to prevent sticking and ensure even incubation. You can use an automated egg turner or manually turn them by gently rotating each egg 1/4 to 1/2 turn.
What happens if my quail eggs don’t hatch after 21 days?
If your eggs don’t hatch, it could be due to incorrect temperature settings (too high or too low), poor air quality, or contaminated incubation environment. Check your equipment and environment for any issues, and consider consulting a poultry expert for guidance.
Can I use an egg carton as a brooder for newly hatched quails?
No, it’s not recommended. An egg carton is not designed to provide the necessary space, ventilation, or protection for growing quails. Use a purpose-built brooder with adequate space and ventilation to ensure healthy growth and development.
How long does it take for quail eggs to develop before hatching?
Quail eggs typically develop over 16-17 days after incubation begins. Monitor egg development closely by checking the incubator’s temperature, humidity levels, and observing any signs of chick movement or pip (breaking through the shell).
What if I accidentally remove an incubating quail egg from the correct position in the incubator?
If you inadvertently remove a developing egg from its original position, gently return it to its original spot. Make sure not to disturb the surrounding eggs too much, as this can affect their development and hatching chances.
Let me know if you’d like any adjustments!