
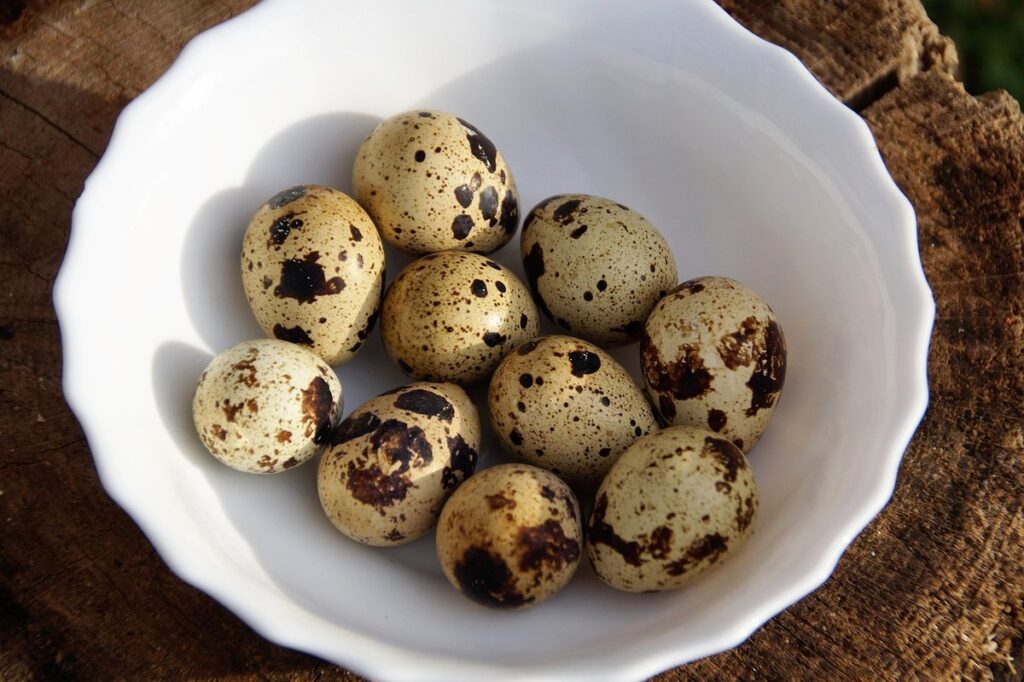
Are you ready to raise healthy and thriving quails? If so, then understanding the importance of a good quail brooder is crucial. A brooder is essentially a safe haven for your young quails, providing them with a controlled environment that promotes growth and development. Choosing the right type of quail brooder can be overwhelming, especially if you’re new to raising quails. But don’t worry, this ultimate guide will walk you through everything you need to know about quail brooders, from selecting the perfect one for your flock to setting it up and maintaining it. We’ll also cover caring for quails and transitioning them outdoors, so you can enjoy watching your feathered friends thrive.
What is a Quail Brooder?
If you’re new to raising quails, understanding what a brooder is will help you provide a safe and healthy environment for your young birds. In this section, we’ll break down the basics of quail brooders.
Definition and Purpose of a Quail Brooder
A quail brooder is essentially a specialized enclosure designed to provide young quails with a safe and controlled environment for growth and development. The primary purpose of a quail brooder is to offer the necessary conditions for quails to thrive during their critical early stages, typically from hatch to around 4-6 weeks old.
A well-designed quail brooder plays a vital role in raising healthy quails by simulating their natural environment, shielding them from potential health risks, and providing essential care. It’s where quails learn basic survival skills, such as finding food, water, and shelter, which are crucial for their overall development. A quality brooder also helps to regulate temperature, humidity, and light exposure – factors that significantly impact the growth rate and well-being of young quails.
By investing in a good quail brooder, you’ll be giving your birds the best possible start in life, setting them up for success as they mature into healthy, productive adults.
Key Features and Types of Brooders
When it comes to choosing the right brooder for your quail needs, understanding the key features and types of brooders available is crucial. There are several types of brooders you can consider, each with its unique benefits and characteristics.
One popular type of brooder is the incubator-based brooder. These units use a thermostat-controlled heating element to maintain a consistent temperature, which is essential for quail development. They often come with automatic egg turning and humidity control features, making them ideal for larger operations or those who want minimal hands-on care. For example, some popular incubator-based brooders can accommodate up to 60 eggs at once.
Heating lamp brooders are another common option, using a heat source (like a light bulb) to warm the air in the enclosure. These units are generally less expensive than incubator-based brooders but require more frequent monitoring and manual adjustments. On the other hand, heat plate brooders use a heated surface to warm the quails directly, providing more precise temperature control.
When selecting a brooder, consider factors such as the number of quails you plan to raise, your available space, and your budget. Some popular models also come with additional features like ventilation systems or humidity sensors, so it’s essential to weigh these against your specific needs.
Choosing the Right Quail Brooder for Your Needs
When it comes to raising quails, selecting the right brooder is crucial to ensure their health and well-being. In this section, we’ll walk you through the key factors to consider when choosing a quail brooder that suits your needs.
Factors to Consider When Selecting a Brooder
When selecting a quail brooder, there are several key factors to consider. First and foremost, think about the size of the brooder and its capacity. How many quails will you be raising at one time? A general rule of thumb is to provide at least 2-3 square feet of space per bird. This allows for adequate room for movement and comfort.
Consider the durability of the brooder as well. Will it withstand the rigors of daily use, including cleaning and feeding? Look for a brooder made from high-quality materials that can withstand wear and tear.
Ease of use is also an essential factor to consider. Can you easily access the quails for monitoring and care? Are the controls simple to operate? Some brooders come with advanced features such as automated temperature control, which can be beneficial but may require more maintenance.
Maintenance requirements are another crucial consideration. How often will you need to clean the brooder, and what type of cleaning is required? Look for a brooder with easy-to-clean designs and removable parts that can be washed in a dishwasher.
Comparing Manual and Automated Brooders
When deciding on a quail brooder for your flock, one of the key considerations is whether to opt for a manual or automated model. Both types have their advantages and disadvantages, which we’ll explore below.
Manual brooders are often less expensive upfront, with prices starting from around $20-$50. They require you to manually check on the quail’s temperature, humidity levels, and food and water supply throughout the day. This can be time-consuming, but it allows for a high level of customization and flexibility in terms of design and setup.
Automated brooders, on the other hand, are more expensive, with prices ranging from $100-$500 or more. They come equipped with sensors that monitor temperature, humidity, and other factors, providing real-time data to your smartphone or computer. Automated systems also often include features like automated feeding and watering, which can save you time and effort.
Ultimately, the choice between a manual and automated brooder comes down to your personal preferences and needs. If you have limited space, a small flock, or want a low-cost solution, a manual brooder might be the way to go. However, if you prioritize convenience, accuracy, and peace of mind, an automated system may be the better investment for you.
Setting Up and Maintaining a Quail Brooder
When setting up your quail brooder, there are several key considerations to keep in mind to ensure a safe and healthy environment for your baby birds. This section will walk you through the essentials.
Essential Equipment and Supplies for a Brooder
When setting up a quail brooder, it’s essential to have the right equipment and supplies to ensure the health and well-being of your birds. A reliable heating source is crucial for maintaining a temperature range between 90-100°F (32-38°C) during the first week after hatching.
For heating, you can opt for a heat lamp or a ceramic heat emitter. Heat lamps are more energy-efficient but require close monitoring to prevent overheating. Ceramic heat emitters, on the other hand, provide gentle warmth and are safer for the quails. Make sure to place them at least 12-18 inches away from the birds.
In addition to heating sources, you’ll need feeders and waterers that can be easily cleaned and refilled without disturbing the quails. Automatic feeders with adjustable portions are ideal, while bell-shaped waterers allow for easy access without creating a mess.
Nesting boxes should also be provided at a rate of one box per 5-7 birds to encourage egg-laying. The nesting box should have a depth of around 6 inches and a width of about 12 inches to provide adequate space for the quails to lay their eggs.
Best Practices for Temperature Control and Ventilation
Maintaining optimal temperature control and ventilation is crucial for quail brooders. Quails are sensitive to extreme temperatures and require precise temperature conditions to thrive.
Temperature Control: A general rule of thumb is to keep the initial temperature at 90-95°F (32-35°C) for the first week, then gradually decrease it by 5-10°F (3-6°C) each week. Monitor the temperature using a thermometer or digital controller to ensure consistency. Keep in mind that quails prefer temperatures between 60-80°F (16-27°C), but this can vary depending on the specific breed.
Ventilation is equally important, as it helps remove ammonia and moisture from the brooder. A well-designed ventilation system should include windows, vents, or fans to promote airflow. Aim for a minimum of 1 square foot of ventilation per bird, with adequate airflow rates of at least 10-20 air changes per hour.
Regularly inspect your quail brooder’s temperature control and ventilation systems to prevent overheating or moisture buildup. Proper maintenance will ensure optimal conditions for healthy growth and development in your birds.
Caring for Quails in the Brooder
Now that you’ve set up a suitable brooder, let’s talk about caring for your quail chicks during their first few weeks of life. Proper care is crucial for their survival and development.
Nutrition and Feeding Strategies for Growing Quails
As quails grow and develop in the brooder, their nutritional needs become increasingly important. A well-planned diet can make all the difference in their health, growth rate, and overall quality of life.
Quails are omnivores and require a balanced diet that includes proteins, vitamins, and minerals. Start by providing a starter feed specifically formulated for young quails, which should be around 18-20% protein content. As they grow, you can gradually transition them to layer feed (around 16-18% protein) or mash at around 5-6 weeks old.
It’s also essential to provide fresh water and a calcium source, such as crushed eggshells or cuttlebone, to support strong bone development. Some quail owners find it beneficial to supplement their flock with probiotics, vitamins, or fruits like berries or melons, but be cautious not to overdo it – too many supplements can cause more harm than good.
Some common nutrition-related issues in growing quails include soft eggshell syndrome and leg weakness. To avoid these problems, ensure you’re providing a balanced diet, keeping the brooder clean and well-ventilated, and monitoring your birds’ health closely.
Monitoring Health and Addressing Common Issues
Monitoring your quails’ health is crucial during their growth phase in the brooder. Start by checking on them at least twice a day to ensure they have enough food and water, and that their living conditions are clean and well-maintained. Look for signs of illness or stress such as labored breathing, loss of appetite, or changes in droppings.
Common issues that may arise include respiratory problems due to cold temperatures or drafts, and diarrhea caused by bacterial infections. If you notice any of these symptoms, it’s essential to take action quickly. Quarantine the affected bird to prevent the spread of disease and seek veterinary advice on the best course of treatment.
In addition to monitoring their health, make sure your quails have access to a balanced diet that includes a mix of grains, proteins, and vitamins. A high-quality commercial quail feed can provide all the necessary nutrients for healthy growth. Fresh vegetables and fruits should also be provided as treats in moderation.
Regularly clean and disinfect the brooder to prevent the buildup of bacteria and fungi that can harm your quails. Replace bedding material frequently and ensure good ventilation to keep the air fresh. By staying vigilant and taking prompt action when issues arise, you can help your quails thrive during their time in the brooder.
Tips for a Successful Quail Flock Transition
When introducing new quails into your flock, it’s crucial to minimize stress and ensure a smooth transition. Here are some expert tips to help you navigate this process successfully.
Preparing Your Quails for Outdoor Life
Before transitioning your quails from the brooder to outdoor life, it’s essential to prepare them for the new environment. Acclimation is a critical step to ensure a smooth transition.
Start by gradually introducing your quails to the outdoors over a period of 7-10 days. Begin with short periods outside, around 2 hours in the morning and evening, allowing them to explore their surroundings under close supervision. Gradually increase the time spent outdoors as they become more comfortable.
Health checks are also crucial before releasing your quails into the outdoor coop. Consult with a veterinarian to schedule a health check for each bird, ensuring they’re free from any diseases or parasites that could spread in an outdoor setting. Vaccination may also be necessary depending on your location and local disease prevalence.
Regularly inspect your birds’ living conditions, watching for signs of stress, illness, or predators. Ensure their enclosure is secure, well-ventilated, and protected from harsh weather conditions. With proper preparation and acclimation, your quails will thrive in their new outdoor home.
Creating a Safe and Suitable Environment for Your Quails
Creating a safe and suitable environment for your quails is crucial as they transition from their brooder to an outdoor enclosure. A well-designed outdoor enclosure should provide adequate shelter, feeding, watering, and predator protection.
Start by ensuring the enclosure has a sturdy and well-ventilated coop with walls at least 3 feet high to protect against predators such as foxes, coyotes, and hawks. The coop should also have nesting boxes to encourage egg-laying and reduce stress on your quails. Make sure the nesting boxes are easily accessible for cleaning and maintenance.
Provide adequate space for feeding and watering stations, placed at a comfortable height for your quails to access without straining their necks or backs. Consider using automatic feeders and waterers that can be filled from outside the enclosure, reducing the risk of contamination and making it easier to manage your quail flock’s nutrition.
For predator protection, consider adding a top mesh layer around the coop to prevent aerial predators from attacking your quails. You should also take measures to protect against ground-dwelling predators by burying hardware cloth around the perimeter of the enclosure or using electric fencing. Regularly inspect your enclosure for any signs of damage or vulnerabilities that could be exploited by predators.
Troubleshooting Common Brooder Issues
Don’t let quail brooder issues get you down! This section will walk you through common problems and provide practical solutions to ensure a healthy and thriving flock.
Identifying and Resolving Heating and Ventilation Problems
As a quail breeder, you’re likely familiar with the importance of maintaining a comfortable temperature and air circulation within the brooder. However, heating and ventilation issues can arise unexpectedly, leading to stress and even losses for your flock. Some common problems that may occur include inadequate heat retention, excessive moisture buildup, or uneven temperature distribution.
To address these issues, start by checking the insulation quality around the brooder, including any gaps or openings in the walls, floor, or ceiling. Make sure all vents are clear of debris and functioning properly. Also, verify that your heating source (e.g., heat lamp or ceramic heat emitter) is placed at a safe distance from the birds to prevent overheating.
If you notice excessive moisture buildup, check for any clogged drains or leaks in the ventilation system. To maintain optimal air circulation, ensure proper brooder size and layout according to the number of quail. Monitor temperature fluctuations throughout the day using a thermometer, making adjustments as necessary to keep your flock comfortable within the recommended range of 90°F to 100°F (32°C to 38°C).
Addressing Feed-Related Issues and Nutrition Deficiencies
As you navigate the world of quail brooding, it’s essential to be aware of potential feed-related issues and nutrition deficiencies that may affect your birds’ health. One common problem is overfeeding, which can lead to obesity and related health complications. To prevent this, monitor your quails’ feeding schedule closely and provide them with a balanced diet.
Nutritional deficiencies are another concern. Quails require a specific mix of vitamins and minerals to thrive, including calcium for strong eggshell production and protein for muscle growth. A deficiency in these essential nutrients can manifest as weakness, lethargy, or reproductive problems.
To correct nutrition deficiencies, introduce supplements such as crushed oyster shells (for calcium) and probiotics (to support gut health). Regularly assess your quails’ droppings to ensure they’re free of abnormal coloration or consistency. Also, rotate your feed sources every 2-3 weeks to prevent nutrient imbalances.
By being proactive and attentive to your quails’ dietary needs, you can minimize the risk of feed-related issues and promote optimal health in your brooder.
Frequently Asked Questions
What temperature range is suitable for quails in the brooder during different stages of growth?
A well-designed quail brooder should maintain a consistent temperature between 90°F to 95°F (32°C to 35°C) for the first week, gradually decreasing by 5°F (3°C) each subsequent week. For example, if you start with 90°F (32°C), you can decrease it to 85°F (29°C) at two weeks and 80°F (27°C) at three weeks old.
How often should I clean the brooder to prevent health issues in my quails?
Cleaning the brooder regularly is crucial for maintaining a healthy environment. You should aim to change bedding material daily, disinfect all surfaces every week, and thoroughly clean the entire brooder every 4-6 weeks to prevent disease outbreaks.
Can I raise different breeds of quails together in the same brooder, or are there specific considerations?
While it’s possible to raise multiple breeds together, it’s essential to research compatibility before doing so. Some breeds may have distinct temperature requirements, aggression levels, or social needs that can impact each other’s health and well-being.
How do I transition my quails from the brooder to outdoor life safely, considering factors like predation and disease risks?
Transitioning your quails outdoors requires careful planning. Start by gradually introducing them to outside conditions over a period of days or weeks, beginning with short periods in enclosed runs or aviaries before moving to more extensive outdoor areas.
What are some common signs that my brooder is not providing sufficient ventilation, and how can I address this issue?
Inadequate ventilation can lead to respiratory issues in your quails. Look out for symptoms like labored breathing, lethargy, or visible stress. To resolve the issue, ensure proper airflow by maintaining adequate spacing between birds, using vented enclosures, and providing regular cleaning of the brooder.