
Are you tired of dealing with painful scratches from your backyard chickens? Trimming their spurs can be a daunting task, but it’s an essential part of keeping both you and your flock safe. Chicken spurs are sharp, pointed growths on the hocks of birds that can cause serious injury if not handled properly. Learning how to trim them safely and effectively is crucial for any backyard chicken keeper.
In this comprehensive guide, we’ll walk you through the best tools and techniques for trimming your chickens’ spurs. We’ll cover everything from preparing your bird for the process to post-trimming care tips to ensure a smooth recovery. By following our expert advice, you’ll be able to safely trim your chickens’ spurs and enjoy a more peaceful and injury-free coexistence with your feathered friends.
Importance of Trimming Chicken Spurs
Now that we’ve covered how to trim chicken spurs, it’s essential to understand why trimming them is crucial for your flock’s health and well-being. Let’s dive into the importance of this task.
Understanding Chicken Spurs and Their Risks
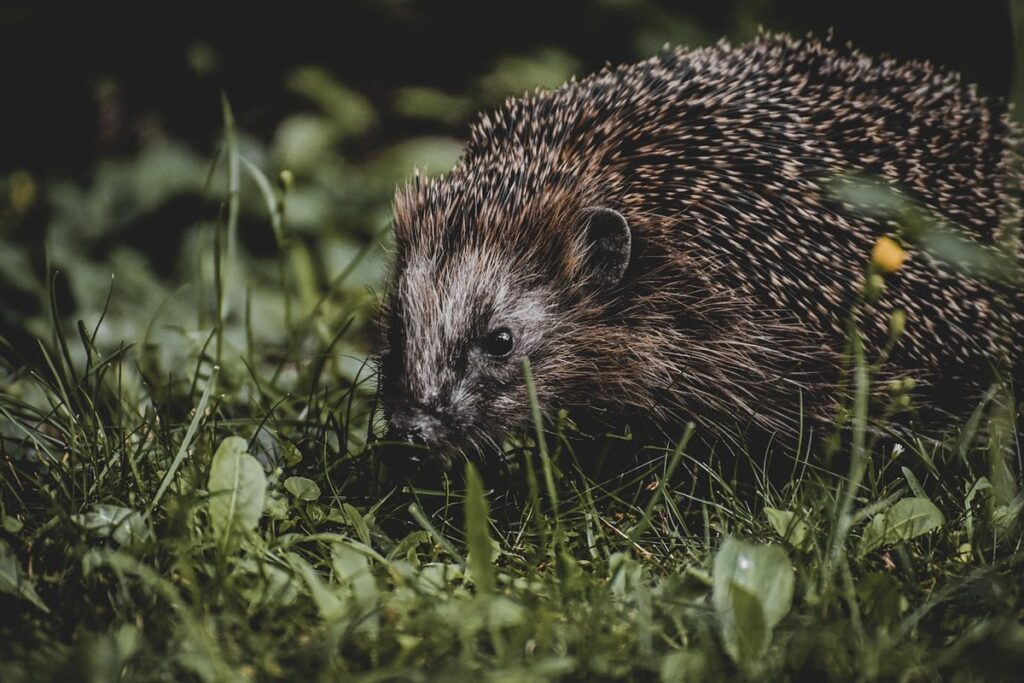
Chicken spurs are small, sharp protrusions that grow on the legs of chickens, typically at the joint. Their primary purpose is to provide additional support and stability during walking and perching, as well as for defense against predators. However, these sharp spurs can become a significant risk factor if not properly managed.
When left untrimmed, chicken spurs can cause injuries to both humans and other animals in close proximity to the flock. According to the American Poultry Association, approximately 10% of all chicken-related injuries are caused by accidental kicks from birds with overgrown spurs. In addition to causing physical harm, these spurs can also lead to long-term psychological trauma for those who experience an injury.
To mitigate this risk, it’s essential to trim your chickens’ spurs regularly. The frequency of trimming depends on several factors, including the age and breed of the bird, as well as its living environment. As a general rule, most chicken owners trim their birds’ spurs every 4-6 weeks.
The Impact of Untrimmed Spurs on Flock Health
When you don’t trim your chickens’ spurs regularly, it can have a significant impact on their overall health and wellbeing. Untrimmed spurs can cause serious injuries to both the birds themselves and to you when handling them.
For one, untrimmed spurs can lead to painful puncture wounds if two birds fight or get entangled in each other’s legs. Moreover, long spurs can get caught in fencing, feeding troughs, or even egg-laying boxes, causing unnecessary stress and pain for the bird. In severe cases, a tangled spur can become infected, leading to more serious health issues.
Additionally, untrimmed spurs can cause discomfort and mobility problems for your chickens, making it harder for them to walk, roost, or even lay eggs comfortably. This increased stress can weaken their immune system, making them more susceptible to diseases.
To avoid these complications, make trimming a regular part of your flock’s grooming routine. Trim those spurs to a safe length and keep an eye out for any signs of discomfort or injury in your birds. Regular maintenance is key to keeping your flock happy and healthy.
Choosing the Right Trimming Tools
Now that you know why trimming chicken spurs is important, let’s move on to selecting the right tools for a safe and effective job. This includes choosing the best type of clippers and scissors for your needs.
Types of Trimmers for Chicken Spurs
When it comes to cutting chicken spurs, having the right trimming tool is crucial. There are several types of trimmers available, each with its own unique features and benefits. Nail clippers are a popular choice for small-scale farms or backyard chicken keepers. They’re inexpensive, easy to use, and can be sanitized in hot water after each use.
However, nail clippers may not be suitable for larger birds or more severe spur cases. In these situations, specialized trimmers specifically designed for chickens are a better option. These trimmers usually have curved blades that allow for precise cutting and are often equipped with safety features to prevent accidental cuts.
For more delicate procedures or if you’re unsure about the best course of action, surgical scissors can be used. They provide a high level of precision and control, making them ideal for trimming small spurs or removing damaged tissue.
Regardless of which tool you choose, it’s essential to always prioritize bird safety and handling with care when cutting chicken spurs.
Selecting the Best Trimmer Size and Style
When it comes to selecting the right trimmer size and style for trimming chicken spurs, it’s essential to consider both the individual needs of your chickens and your own comfort level. The size and type of trimmers will largely depend on the age, breed, and temperament of your birds.
For larger breeds or older hens, you’ll want a more substantial trimmer with longer blades to tackle thicker spurs. For smaller breeds or younger chicks, shorter, lighter trimmers are often sufficient. It’s also crucial to consider your own comfort level; if you have small hands or limited dexterity, look for trimmers with ergonomic grips or compact designs.
To get the right size and style, measure the length of your chicken’s spurs before heading out to purchase a trimmer. Consider the thickness and texture of their skin as well – some chickens may require more delicate care than others. By taking these factors into account, you’ll be better equipped to choose a trimmer that meets both your birds’ needs and your own comfort level.
Preparing Your Chicken for Trimming
Before you start trimming, it’s essential to make sure your chicken is calm and comfortable, which will greatly affect the success of the process. Prepare a safe and stress-free environment first.
Handling and Restraint Techniques for Safe Trimming
When handling and restraining chickens for trimming, it’s essential to prioritize their safety and well-being. A calm and cooperative chicken is easier to trim and reduces the risk of injury to both you and the bird.
Before starting the trimming process, make sure the chicken is securely restrained using a sturdy table or wall-mounted restraint system. This can be achieved with the use of non-slip mats or towels under their feet, preventing them from slipping and falling off. Another option is to use a well-fitting, comfortable crate that allows the chicken to move around comfortably.
To prevent stress and anxiety, it’s crucial to desensitize your chickens to handling and restraint by gradually introducing these procedures into their daily routine. This can involve gentle petting, nail trimming, or even just sitting near them while they eat. By doing so, you’ll create a more relaxed atmosphere, making the trimming process smoother for both you and the chicken.
When restraining the chicken, ensure that the area around their joints is accessible without causing discomfort or stress.
Creating a Calm Environment for Trimming
Creating a calm environment for trimming is crucial to ensure both you and your chickens remain stress-free throughout the process. A relaxed atmosphere not only makes the experience more enjoyable but also prevents anxiety-related issues such as increased heart rates, panting, or even aggressive behavior.
When it comes to creating this serene setting, consider the following:
* Choose a quiet location for trimming, free from distractions and loud noises.
* Ensure proper ventilation by opening windows or using fans to maintain airflow. This helps reduce stress caused by heat or confinement.
* Provide a comfortable temperature range between 60°F and 70°F (15°C and 21°C), as extreme temperatures can cause discomfort and anxiety.
* Minimize the number of people present during trimming, as large crowds can be overwhelming for your flock.
By implementing these measures, you’ll create an environment conducive to relaxation.
The Trimming Process: Step-by-Step Guide
Now that you’ve prepared your tools, let’s dive into the trimming process itself. We’ll walk through each step of safely and effectively removing those pesky chicken spurs.
Preparing the Spurs for Trimming
Before you can trim those pesky chicken spurs, you need to prepare the area for optimal trimming. To start, carefully hold the chicken firmly but gently, making sure not to constrict its movement. Identify each individual spur by feeling along the legs – they’re usually located just above the hock joint and are quite noticeable due to their hard, bony texture.
To properly position the spurs for trimming, angle the chicken’s legs at a 45-degree angle, allowing you to easily access each spur without straining or putting too much pressure on the bird. This also makes it simpler to visualize the area you’re about to work with.
Make sure to wear protective gloves and eyewear before beginning – this will prevent any accidental nipping or scratching during the trimming process. Take a moment to inspect each spur for any signs of damage or infection, checking for redness, swelling, or discharge. If you do encounter any issues, it’s best to consult with an experienced poultry handler or veterinarian for guidance on how to proceed safely and humanely.
Cutting and Trimming Techniques
When it comes to cutting and trimming chicken spurs, safety should always be your top priority. To do this effectively, you’ll want to start by having a good pair of sharp scissors or clippers specifically designed for cutting spurs. These tools will make the process significantly easier and reduce the risk of injury.
To begin, hold the chicken securely in place with one hand, making sure not to squeeze too hard which can cause unnecessary stress. With your other hand, locate the spur – it’s usually a small, hard growth on the back or sides of the leg – and carefully cut about 1/8 inch above the joint where the spur meets the skin.
Next, use your clippers or scissors to gently trim any excess skin around the area, making sure not to remove too much tissue. This will help prevent infection and promote healing. For a more precise cut, you can use nail clippers specifically designed for this task.
To minimize bleeding, apply gentle pressure to the area with a clean cloth or gauze. If the spur is particularly large or stubborn, it may be necessary to use a specialized tool such as a spur cutter. In any case, always prioritize caution and take your time to avoid causing unnecessary discomfort or injury to the chicken.
Common Challenges and Troubleshooting
Don’t worry if you encounter problems while trimming chicken spurs – we’ve got some common challenges and troubleshooting tips to help you get back on track.
Dealing with Bleeding or Infection After Trimming
Bleeding and infection can occur after trimming chicken spurs if not done properly. If you notice bleeding, apply gentle pressure with a clean cloth or gauze for a few minutes to stop the bleeding. Apply an antibiotic ointment and cover with a bandage to prevent further irritation.
To minimize the risk of infection, make sure your hands are clean and dry before handling the chicken’s spurs. Use sterile equipment, such as scissors or clippers specifically designed for trimming spurs, and clean them regularly between uses. Keep the trimmed area clean and dry by gently patting it with a clean cloth.
If you notice any signs of infection, such as swelling, redness, or discharge, take immediate action. Apply an antibiotic ointment and seek veterinary attention if necessary. Always prioritize your safety and the chicken’s well-being when trimming spurs.
Managing Difficult or Aggressive Chickens During Trimming
Managing difficult or aggressive chickens during trimming requires extra caution and patience. When dealing with feisty birds, it’s essential to prioritize their safety as well as yours. Start by carefully observing the chicken’s behavior and body language before attempting to trim its spurs.
Look for signs of agitation such as flapping wings, raised hackles, or sudden movements. If you notice these signs, stop what you’re doing immediately and try to calm the bird down using positive reinforcement techniques like treats or gentle petting. When resuming the trimming process, consider having an assistant hold the chicken securely to prevent any accidental nipping.
Some chickens may require additional steps to ensure their comfort and safety during trimming. For example, you might need to desensitize them to the clippers by gently touching their legs with the blades or offering a treat while holding the clippers near their feet. Always approach each bird individually, taking into account its unique temperament and needs.
Post-Trimming Care and Maintenance
Now that you’ve trimmed your chicken’s spurs, it’s essential to take good care of them to prevent any potential health issues from arising. Proper after-care will keep your flock happy and healthy.
Keeping Spurs Healthy After Trimming
After trimming those pesky chicken spurs, it’s essential to keep them healthy and prevent overgrowth. One of the most critical aspects of post-trimming care is establishing a regular trimming schedule. This might seem daunting, but trust us, it’s worth it. Schedule trimmings every 6-8 weeks to prevent spurs from growing back too long.
Regular monitoring is also crucial in maintaining healthy spurs. Keep an eye out for signs of overgrowth, such as redness, swelling, or changes in the spur’s shape. If you notice any of these symptoms, it’s time to trim again.
To keep your flock happy and healthy, make trimming a part of your regular chicken care routine. You can also use this opportunity to check for other health issues, such as fungal infections or parasites. By being proactive and monitoring your chickens’ spurs regularly, you’ll save yourself the stress and discomfort that comes with dealing with overgrown spurs.
Remember, it’s not just about trimming those spurs – it’s also about taking care of your chicken’s overall health and well-being.
Best Practices for Storing and Cleaning Trimming Tools
When you’re finished trimming your chicken’s spurs, it’s essential to store and clean your trimming tools properly. This will not only extend their lifespan but also prevent the spread of diseases and bacteria. Here are some best practices for storing and cleaning your trimming tools:
To start with, make sure to disinfect your trimming tools immediately after use. Use a solution of 1 part white vinegar to 9 parts water or a veterinary-approved disinfectant to wipe down all surfaces. This will help kill any bacteria that may have been introduced during the trimming process. Next, rinse your tools thoroughly and dry them with a clean towel.
For long-term storage, keep your trimming tools in a clean, dry place away from direct sunlight. You can store them in a designated tool box or container to prevent accidental breakage or damage. It’s also essential to regularly inspect your tools for wear and tear, replacing any damaged or rusty blades promptly.
By following these best practices, you’ll be able to keep your trimming tools clean, sterile, and in good working condition for future use. This will not only save you time and money but also ensure the health and well-being of your chickens. Remember to always prioritize cleanliness when handling trimming tools to prevent the spread of diseases.
Frequently Asked Questions
What if I accidentally cut too much of the spur, or it’s bleeding heavily?
Immediately apply gentle pressure with a clean cloth to stop the bleeding. Clean the area with an antiseptic solution, and consider consulting a veterinarian for further guidance on treating minor injuries.
How often should I trim my chickens’ spurs, especially if they’re still young?
Trimming frequency depends on your flock’s age, size, and activity level. As a general rule, trim spurs every 4-6 weeks for mature birds. For younger birds (under 6 months), it’s best to start with shorter intervals (every 2-3 weeks) as their spurs grow faster.
Can I use a regular nail clipper or a sharp object like scissors to trim my chickens’ spurs?
No, it’s not recommended. Regular nail clippers and sharp objects can cause more harm than good due to the delicate nature of chicken skin around the spur area. Invest in specifically designed bird trimmers for safe and effective results.
What are some common mistakes new chicken keepers make when trimming their flock’s spurs?
Common errors include inadequate preparation, poor restraint techniques, and insufficient attention to post-trimming care. Be sure to create a calm environment, handle birds safely, and follow proper after-care instructions to avoid complications.
Can I trim my chickens’ spurs without any specialized equipment or tools?
While it may be possible to trim your flock’s spurs with basic materials, it’s highly recommended to invest in specifically designed bird trimmers for a safer and more effective experience. This ensures a clean cut, reduces the risk of injury, and minimizes stress on both you and your birds.