
Are you tired of bland, uniform chicken dishes? Look no further! Today we’re diving into the world of chicken oyster shells, also known as mushroom caps or button mushroom tops. These versatile ingredients offer a multitude of benefits and uses in both cooking and baking. Not only do they add an impressive presentation to any dish, but they also pack a flavor punch that’s sure to elevate your meals. In this comprehensive guide, we’ll explore the benefits, uses, and mouth-watering recipes that showcase the perfect crust and more. Whether you’re a seasoned chef or a culinary newbie, you’ll discover how to achieve a flawless finish and troubleshoot common issues when working with chicken oyster shells. Get ready to take your cooking skills to the next level!
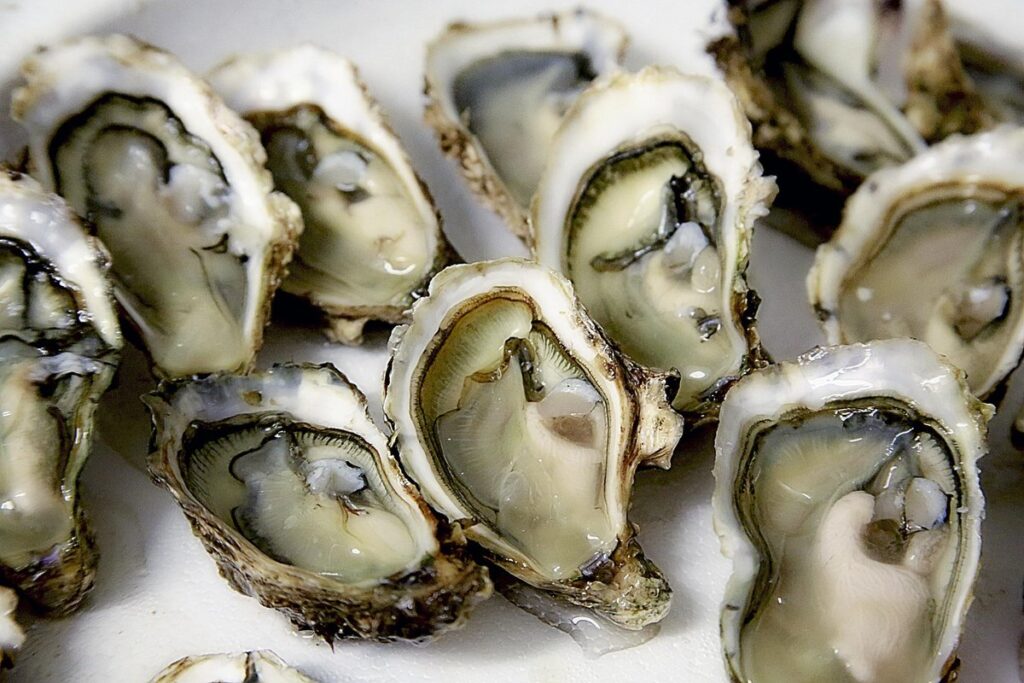
What Are Chicken Oyster Shells?
If you’re curious about chicken oyster shells, let’s start with the basics: what are they and where do they come from in the first place.
Definition and Origin
Chicken oyster shells are a type of breading or coating made from finely ground meal, typically derived from chicken, turkey, or sometimes fish. They are designed to resemble the shape and texture of an oyster shell, hence their name. The origin of chicken oyster shells can be attributed to traditional Southern American cuisine, where they were used as a crispy coating for fried foods like chicken tenders and seafood.
Compared to other types of breading or coatings, chicken oyster shells stand out due to their light and airy texture, which provides an exceptional crunch when fried. Unlike heavy batters or thick coatings, chicken oyster shells offer a delicate balance between crunchiness and ease of consumption. They also have the advantage of being more evenly coated, reducing the likelihood of clumps or excessive batter buildup.
One of the key benefits of using chicken oyster shells is that they allow for precise control over how much coating is applied to each piece of food, resulting in a more uniform texture. This makes them an excellent choice for those who prefer a lighter coating without sacrificing flavor or crunchiness.
Types of Chicken Oyster Shells
When it comes to choosing the right chicken oyster shells for your flock, you have several options available. One of the main decisions is whether to opt for homemade or store-bought shells.
Homemade shells are a great option if you’re looking for a cost-effective and customizable solution. You can make them using materials like eggshells, crushed oyster shells, and even crushed limestone. However, keep in mind that making your own shells requires some research and experimentation to get the right texture and calcium content. A general recipe involves mixing 1 cup of crushed eggshells with 2 cups of crushed limestone or oyster shells.
Store-bought shells, on the other hand, offer convenience and consistency. They come in various textures, including fine, medium, and coarse ground, which can be beneficial for different ages and health conditions of your chickens. Some popular brands also offer flavored options like garlic and mint to add a twist to your flock’s diet.
When choosing between homemade and store-bought shells, consider the needs of your flock and your personal preferences. If you have limited space or prefer a DIY approach, making your own shells might be the way to go. However, if you value convenience and consistency, store-bought shells are an excellent option.
Benefits of Using Chicken Oyster Shells
One of the most compelling reasons to use chicken oyster shells is that they provide a wealth of health benefits for your flock. Let’s dive into these advantages together!
Crispy Texture and Flavor Enhancement
When you use chicken oyster shells in your cooking, one of the most notable benefits is the crispy texture they add to dishes. This crunch is not only visually appealing but also provides a satisfying mouthfeel that elevates the overall dining experience. The secret behind their crispiness lies in their unique structure, which includes thin membranes and tiny fragments that hold onto seasonings.
To enhance flavor with chicken oyster shells, consider using them as a coating for proteins or vegetables before frying. This creates an extra layer of crunch on the outside while locking flavors within. You can also use them as a crunchy garnish for salads or soups, adding texture without overpowering the other ingredients. To make the most of their flavor-enhancing properties, experiment with different seasonings and herbs that complement your dish’s main flavor profile.
For instance, tossing chicken oyster shells in paprika, garlic powder, and chili flakes before using them as a breading creates an aromatic and spicy kick.
Versatility in Cooking Methods
One of the standout benefits of using chicken oyster shells is their versatility in cooking methods. You can prepare them in a variety of ways to suit your taste preferences and dietary needs. For instance, you can try pan-frying or deep-frying them for a crispy exterior and juicy interior.
Baking is another great option – simply season the shells with your favorite herbs and spices, drizzle with olive oil, and roast them in the oven until golden brown. This method brings out the natural flavors of the chicken without adding extra calories.
Grilling is also an excellent way to cook chicken oyster shells, infusing them with a smoky flavor that’s perfect for summer barbecues or outdoor gatherings. You can marinate them in your favorite sauce or seasoning before grilling for added flavor.
In addition to these methods, you can also try air-frying or pressure cooking the shells for a healthier and faster option. Experimenting with different cooking techniques will help you discover new flavors and textures that you’ll love.
Using Chicken Oyster Shells: Tips and Tricks
Whether you’re a seasoned homesteader or just starting out, this section will share practical tips for using chicken oyster shells in your backyard flock. We’ll cover how to incorporate them into their diet safely and effectively.
Preparing the Shells for Use
Before you can start using chicken oyster shells, it’s essential to prepare them properly. One of the most critical steps is to soak the shells in cold water for a few hours or overnight. This helps rehydrate the shells and makes them more pliable, allowing you to shape them into your desired forms.
While soaking, you can also add any seasonings or flavorings to the water to infuse the shells with extra taste. Some people like to use aromatic herbs like thyme or rosemary for a savory flavor, while others prefer adding garlic powder or onion flakes for an extra boost of flavor.
Once the shells have soaked, drain them and let them air dry completely before using them in your recipe. This will help prevent any excess moisture from affecting the texture or structure of your final dish. By taking these simple steps, you’ll be able to work with chicken oyster shells more efficiently and achieve the best results possible. As a general rule, it’s always better to err on the side of caution when preparing shells, so take the time to soak them thoroughly before getting started.
Achieving the Perfect Crust
Achieving a perfect crust when using chicken oyster shells is all about mastering temperature control and cooking time. First, preheat your oven to 425°F (220°C), as this high heat will help create a crispy crust. Next, brush the oyster shells with olive oil or melted butter to prevent them from sticking during cooking.
To achieve the perfect doneness, cook the filled oyster shells for about 12-15 minutes, depending on their size and your desired level of browning. You can also broil them for an extra 2-3 minutes to add a golden-brown finish. It’s essential to keep an eye on them during this time, as overcooking can lead to dry, tough shells.
Remember that temperature and cooking time may vary depending on the size of your oyster shells and the type of filling you’re using. To ensure even cooking, rotate the shells halfway through the cooking time. With practice and patience, you’ll be able to achieve a perfectly cooked crust every time, making your chicken oyster shells a show-stopping dish at any gathering.
Chicken Oyster Shell Recipes
Are you looking for creative ways to use chicken oyster shells? This next section shares three delicious recipes that showcase their versatility and flavor potential.
Classic Chicken Cutlet with Oyster Shells
If you’re looking for a classic dish that combines the tender goodness of chicken with the unique crunch of oyster shells, look no further than our take on the classic Chicken Cutlet with Oyster Shells. This recipe is a game-changer for anyone who wants to add some excitement to their meal routine.
To start, pound four boneless, skinless chicken breasts between two sheets of plastic wrap until they’re about 1/4 inch thick. Dip each breast in beaten eggs and then coat evenly with a mixture of 1 cup all-purpose flour, 1 teaspoon paprika, and 1/2 teaspoon salt. Place the coated chicken on a plate or tray and refrigerate for at least 30 minutes to set.
Meanwhile, heat about 1/2 inch of olive oil in a large skillet over medium-high heat. When the oil is hot, add four oyster shells to the pan and cook until they’re golden brown, flipping occasionally. Remove the oyster shells from the pan and place them on a paper towel-lined plate to drain excess oil.
Next, add two more tablespoons of olive oil to the same skillet and sauté the coated chicken breasts for about 4-5 minutes per side or until they’re cooked through. Serve each breast with a few oyster shells on top and your favorite sides. With this recipe, you’ll have a delicious and satisfying meal that’s sure to please even the pickiest eaters.
Chicken Oyster Shell Casserole
One of our favorite chicken oyster shell recipes is the Chicken Oyster Shell Casserole, perfect for a weeknight dinner or special occasion. This comforting dish combines tender chicken, crunchy oyster shells, and creamy sauce in a single, satisfying casserole.
To make this recipe, you’ll need to preheat your oven to 350°F (180°C). In a large skillet, sauté diced onion and minced garlic until softened, then add shredded cooked chicken and stir to combine. Next, mix in a can of condensed cream of mushroom soup and a cup of milk, bringing the mixture to a simmer.
Now it’s time to add your oyster shells! Stir in 1 cup of crushed oyster shells and let them cook for a few minutes until fragrant. Then, transfer the mixture to a baking dish and top with shredded cheddar cheese and additional oyster shells if desired. Bake for 25-30 minutes or until golden brown.
Variations on this recipe include using different types of cheese or adding diced vegetables like bell peppers or carrots. Feel free to get creative and make it your own!
Troubleshooting Common Issues
If you’re experiencing problems with your chicken oyster shells, don’t worry – we’ve got you covered. This section will walk you through common issues and simple solutions to get your project back on track.
Soggy or Undercooked Shells
When cooking chicken oyster shells, it’s not uncommon to encounter soggy or undercooked shells. This can be frustrating, especially if you’re serving a large group. To prevent this issue, it’s essential to cook the shells properly.
Firstly, make sure you’re not overloading your baking dish with too many shells. This can cause them to steam instead of roast, leading to soggy shells. Cook in batches if necessary, to ensure each shell has enough room to breathe.
To check for doneness, gently insert a skewer or fork into the thickest part of the shell. If it slides in easily and comes out clean, the shell is cooked through. However, if you find yourself with soggy or undercooked shells, there’s still hope.
You can try baking them for a few more minutes to crisp up any soft spots. Alternatively, broil the shells for a minute or two to give them a golden-brown finish. This will not only restore their texture but also add flavor.
Removing Excess Breading
Removing excess breading from chicken coated with oyster shells can be a frustrating task, but don’t worry, we’ve got you covered. One common issue is that the breading sticks to the shell, making it difficult to remove excess crumbs. To avoid this problem, try gently tapping the shell against the sink or a plate after coating the chicken with breading. This helps loosen any excess breading and prevents it from sticking.
Another trick is to use a gentle dusting of cornstarch before adding the oyster shells. The starch absorbs excess moisture and helps prevent the breading from clinging to the shell. Simply sprinkle a light layer of cornstarch over the chicken, then proceed with coating with oyster shells.
When removing the chicken from the shells, hold it gently but firmly by the edges and lift it out. Don’t twist or pull the shell, as this can cause the breading to break off and stick to the shell. Instead, let gravity do its job – allow the chicken to slide smoothly out of the shell, taking excess breading with it.
Conclusion: Making the Most of Chicken Oyster Shells
Now that you’ve learned how to collect, clean, and cook chicken oyster shells, let’s talk about making the most of this sustainable ingredient. Here are some final tips for incorporating it into your daily meals.
Recap of Key Points
As you’ve made it through this comprehensive guide on chicken oyster shells, let’s take a moment to recap the key benefits and uses of these incredible natural wonders.
You now know that chicken oyster shells are not only a valuable source of calcium but also a rich repository of trace minerals like magnesium, zinc, and iron. These nutrient-dense treasures can help supplement your flock’s diet, improve eggshell quality, and even support overall health. Whether you’re looking to add an extra layer of nutrition or simply provide a healthy alternative to commercial feed, chicken oyster shells are an excellent choice.
Remember that it’s essential to crush the shells into smaller pieces before feeding them to your birds to ensure proper digestion and absorption. A general rule of thumb is to provide about 10-15% of your flock’s total diet as crushed oyster shells. This will not only help meet their calcium needs but also promote optimal bone growth and development.
In addition to their nutritional benefits, chicken oyster shells can also play a significant role in maintaining the pH balance of your coop. As they break down, they release minerals that help neutralize acidic substances and maintain a healthy environment for your birds.
As you incorporate chicken oyster shells into your flock’s diet, don’t forget to monitor their intake and adjust accordingly based on individual needs. With proper management and supplementation, these natural wonders can become an integral part of a balanced and thriving ecosystem – one that prioritizes the health, happiness, and productivity of your feathered friends. By following these key takeaways, you’ll be well on your way to making the most of chicken oyster shells and enjoying a healthier, more sustainable flock.
Frequently Asked Questions
What’s the best way to store chicken oyster shells to maintain their crispiness?
Storing chicken oyster shells properly can make a huge difference in maintaining their texture. To keep them crispy, it’s essential to store them in an airtight container at room temperature or freeze them for up to 2 months. When you’re ready to use them, simply thaw and dry with paper towels before using.
Can I use chicken oyster shells as a coating for other types of proteins like fish or tofu?
While chicken oyster shells are typically associated with poultry, they can be used as a versatile coating for various proteins. Simply follow the same preparation steps as you would for chicken, adjusting cooking times and temperatures as needed. This is an excellent way to add some Southern flair to your seafood or plant-based dishes.
How do I prevent my chicken oyster shells from becoming soggy during cooking?
The age-old problem of soggy coatings! To prevent this, make sure not to over-dredge the proteins in the breading mixture, and cook them at the right temperature. Also, don’t overcrowd your pan, as this can lead to moisture buildup and a greasy mess.
Can I make my own chicken oyster shells from scratch using ingredients like flour and spices?
While store-bought chicken oyster shells are convenient, making your own from scratch can be a fun and rewarding experience. To do so, simply mix together your desired ingredients (flour, spices, and seasonings) with a bit of water to create a dough-like consistency. Roll it out thinly and use a cookie cutter or glass to cut out the shapes.
How can I ensure my chicken oyster shells have an even coat and perfect crust?
Achieving that perfect crust is all about even coating and proper cooking techniques. To get an even coat, make sure to pat dry your proteins thoroughly before dredging them in the breading mixture. Then, cook at the right temperature (around 375°F) for a sufficient amount of time (usually around 20-25 minutes).